
Planning a photography trip: light, gear and what matters
The photograph you travel for depends on being in the right place, at the right hour, with a charged battery. How to plan light, locations, gear and backups before you leave home.
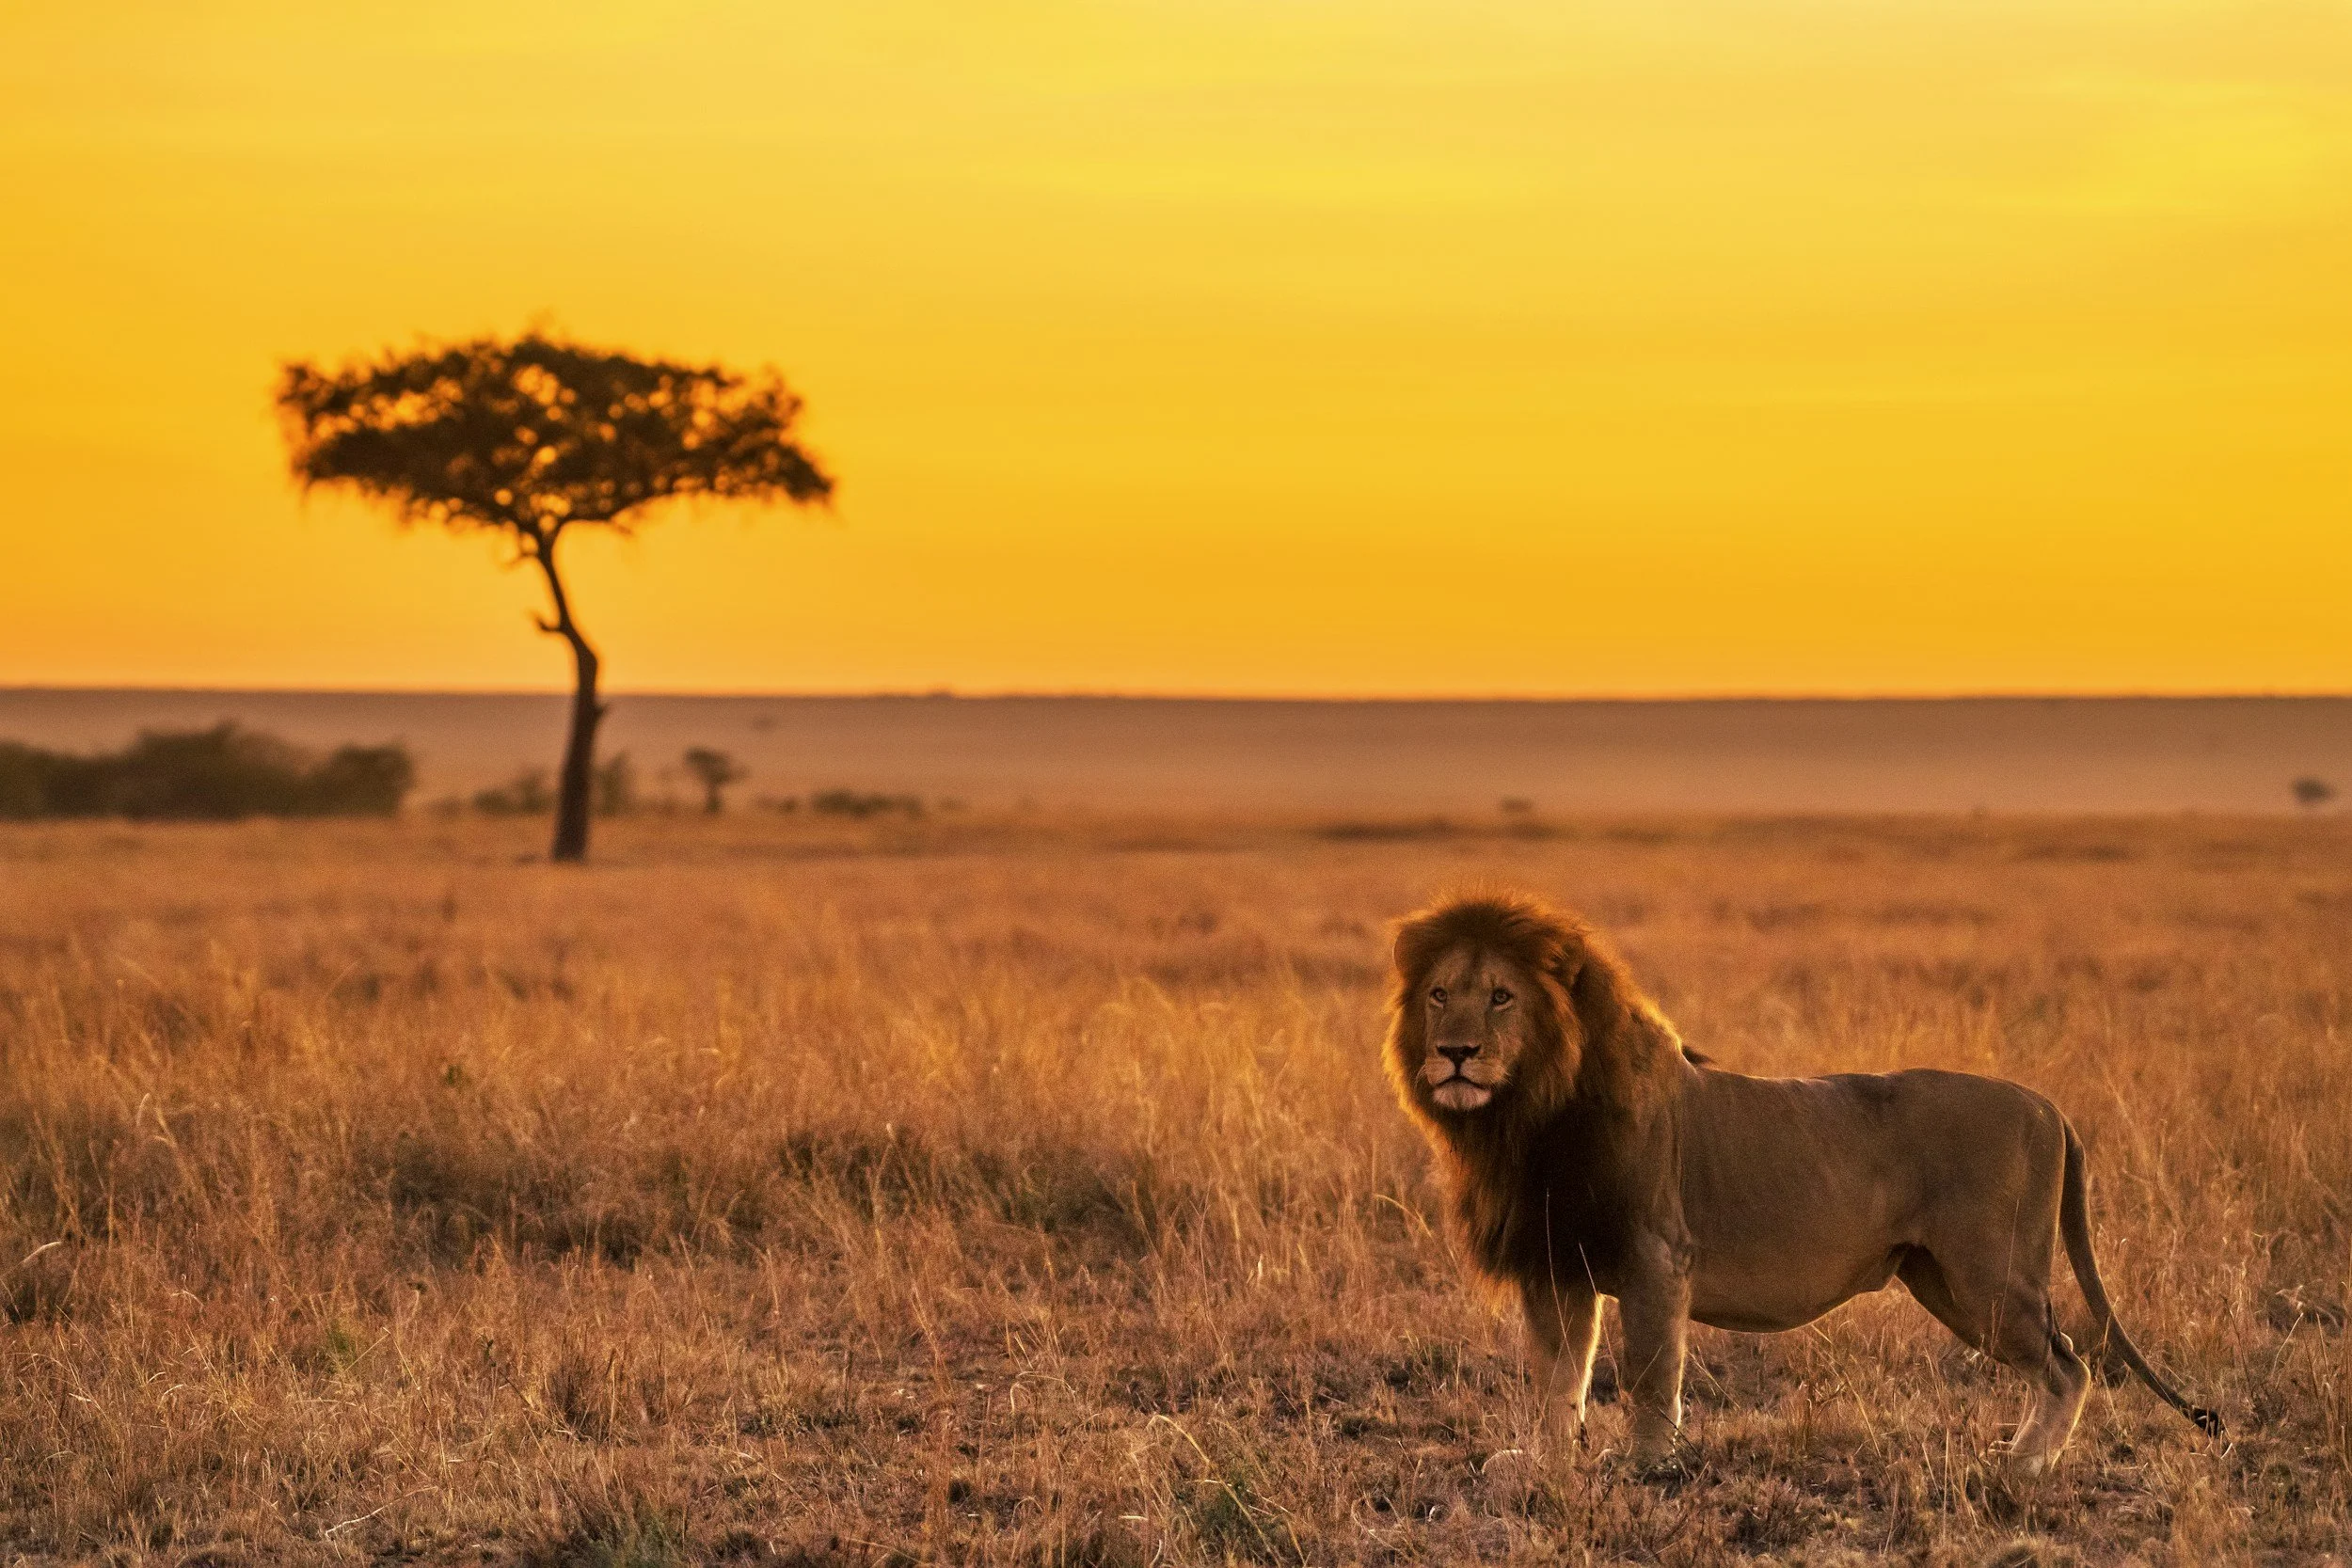
The lion lifted its head just as the sun touched the line of acacias, and the grass around it turned the colour of honey. It was the photograph the whole trip had been built around. The camera showed one blinking battery bar. The spare was back at the lodge, in the charger, next to the second memory card.
Travel photography rarely fails for lack of talent. It fails in the small logistics. The wrong lens is packed, the battery left behind, the best light spent on a transfer bus, the card never backed up. The good news is that all of it can be planned. Here is how to prepare a photography trip so that when the moment arrives, you are ready for it.
Planning a photography trip: light, season and timing
Start with when, not what. The same place can be two entirely different destinations depending on the month. East African savanna is gold and dusty in the dry season and green in the wet. Iceland offers endless soft light in June and aurora in winter. Closer to home, the Flinders Ranges are at their best in the cooler months, and the Great Ocean Road's big swells and dramatic skies tend to arrive in winter. Research the season for the pictures you want, not just the season that suits your leave.

Then look at the daily rhythm. Find sunrise and sunset times for your dates, and work out where you will be at each. The golden hours are short, and a trip planned around museum opening hours often puts you indoors or on a coach exactly when the light is best. Where you can, build your itinerary so the most photogenic place on each day falls at the beginning or end of it.
Local knowledge counts too. Check public holidays, festivals, market days and religious observances. They can make a place extraordinary or impossible, and they are rarely in the brochure.
Scouting locations with maps and apps
You can scout a remarkable amount from home. Satellite views in online maps show the shape of a coastline, the orientation of a building, and whether that viewpoint is a car park or a two-hour walk. Street-level imagery reveals what is in front of the landmark: scaffolding, powerlines, a fence.
Sun-position apps such as PhotoPills or The Photographer's Ephemeris overlay the direction of sunrise and sunset on a map for any date. They tell you whether that famous cliff will be lit by the evening sun or sitting in its own shadow. Save a pin for each location, add notes on the best time of day, and download offline maps before you leave. Mobile data is not guaranteed in the places worth photographing.
What camera gear to take travelling
Take less than you think. Every extra lens is weight on your shoulder for fourteen hours a day, and weight makes you leave the camera in the room. A useful rule is one body and two lenses: a standard zoom that covers wide to short telephoto, such as 24–70 mm or 24–105 mm, and a second lens chosen for the trip. For wildlife that is a telephoto of 100–400 mm or longer. For cities, a small fast prime for low light.

Around that core, the list is short and unglamorous, and each item has saved a trip somewhere.
Carry the gear, do not check it. Cameras and lenses belong in your cabin bag, where you can see them. Carry-on weight limits vary by airline and fare, and limits of 7 kg are common on economy fares, so weigh your bag before you leave and know what you would move to a jacket pocket if asked.
Lithium batteries and flying with camera gear
Spare lithium batteries are subject to aviation safety rules, and the details vary by airline and country, so always check your airline's current policy before you fly. As a general rule, spare batteries must travel in carry-on luggage, not checked bags, with the terminals protected so they cannot short-circuit: keep them in their caps or in individual pouches. Batteries fitted inside the camera are usually treated differently from loose spares.
Most camera batteries sit well below the watt-hour ratings that require airline approval, but larger power banks and some video batteries do not. The rating is printed on the battery. If you cannot read it, you may be asked to leave the battery behind.
A backup routine for travel photographs
Memory cards get lost, stolen, dropped in rivers and corrupted. The fix is a routine, done every night without exception. Copy the day's cards to a laptop or portable drive. If the destination allows, upload the best frames to cloud storage as well. Keep the backup drive in a different bag from the camera. And do not format a card until its photographs exist in at least two other places.
If your camera has dual card slots, set the second to record a simultaneous backup. Using several medium-sized cards rather than one large one also limits what any single failure can cost you.
Travel photography rarely fails for lack of talent. It fails in the small logistics.
Photographing people respectfully abroad
The best travel portraits come from a moment of connection, and connection starts with asking. Learn to say hello, thank you and "may I take your photograph?" in the local language. A smile and a gesture to the camera work almost everywhere; a shake of the head means no, and no means no. Show people the picture on the screen afterwards. It often turns an awkward moment into a warm one.
Some situations need more care. Religious sites often restrict photography, and many ask for no photographs during ceremonies. Some communities do not wish to be photographed at all. In some places, people will reasonably expect payment for a portrait; decide how you feel about that before you are standing in front of them. Photographing police, military sites, border crossings and airports can be illegal in some countries. The rules vary, so research them for each destination.
When a photography tour makes sense
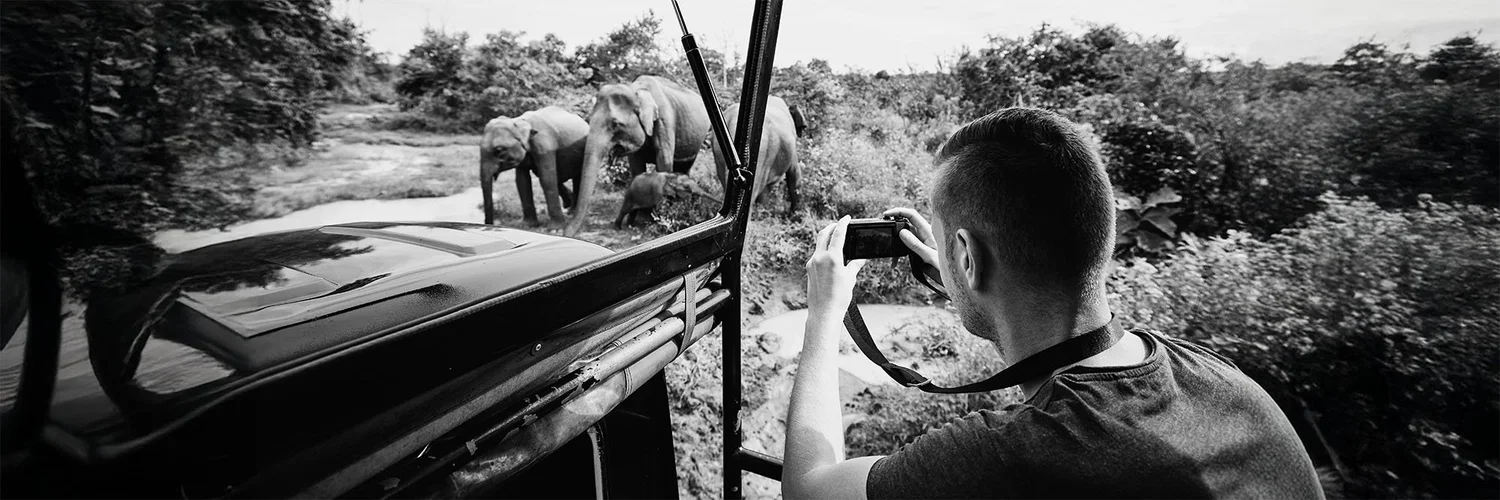
Independent travel suits many trips. A photography tour earns its cost when access, timing and logistics are the hard part. On safari, the guide's knowledge of animal behaviour and the vehicle's position decide the picture. In remote landscapes, a tour can put you at the right location at dawn without you navigating unfamiliar roads in the dark. And travelling with people who also want to be out at sunrise, and do not mind waiting an hour for the light, changes the whole rhythm of a trip.
Look for small groups, itineraries built around light rather than sightseeing, and a leader who teaches as well as guides. Our photography tours for 2027 and 2028 are planned that way. If you want to get comfortable with your camera before you go, a full-day private workshop or a shorter private lesson will cover your settings for the conditions you expect.
Practise this
- Pack your travel camera bag as if leaving tomorrow, then walk with it for an hour. Remove anything you did not want to carry.
- Use a sun-position app to plan one local sunrise shoot, then go and check whether the light fell where the app said.
- Run your nightly backup routine for a week at home, including a second copy, so it is automatic before you travel.
Questions, answered.
What camera gear should I take travelling?
Can I take camera batteries in checked luggage?
How do I back up photos while travelling?
Is a photography tour worth it?
Published by CapturEDU, Melbourne photography education. Our educators are award-winning photographers with a Master of Arts in Photography (RMIT), AIPP and RPS membership.

