
How to photograph the Milky Way in Victoria: settings, timing
The galactic core is one of the great sights of the southern sky, and autumn to early spring is the season for it. Here is when to go, where, and what to set.
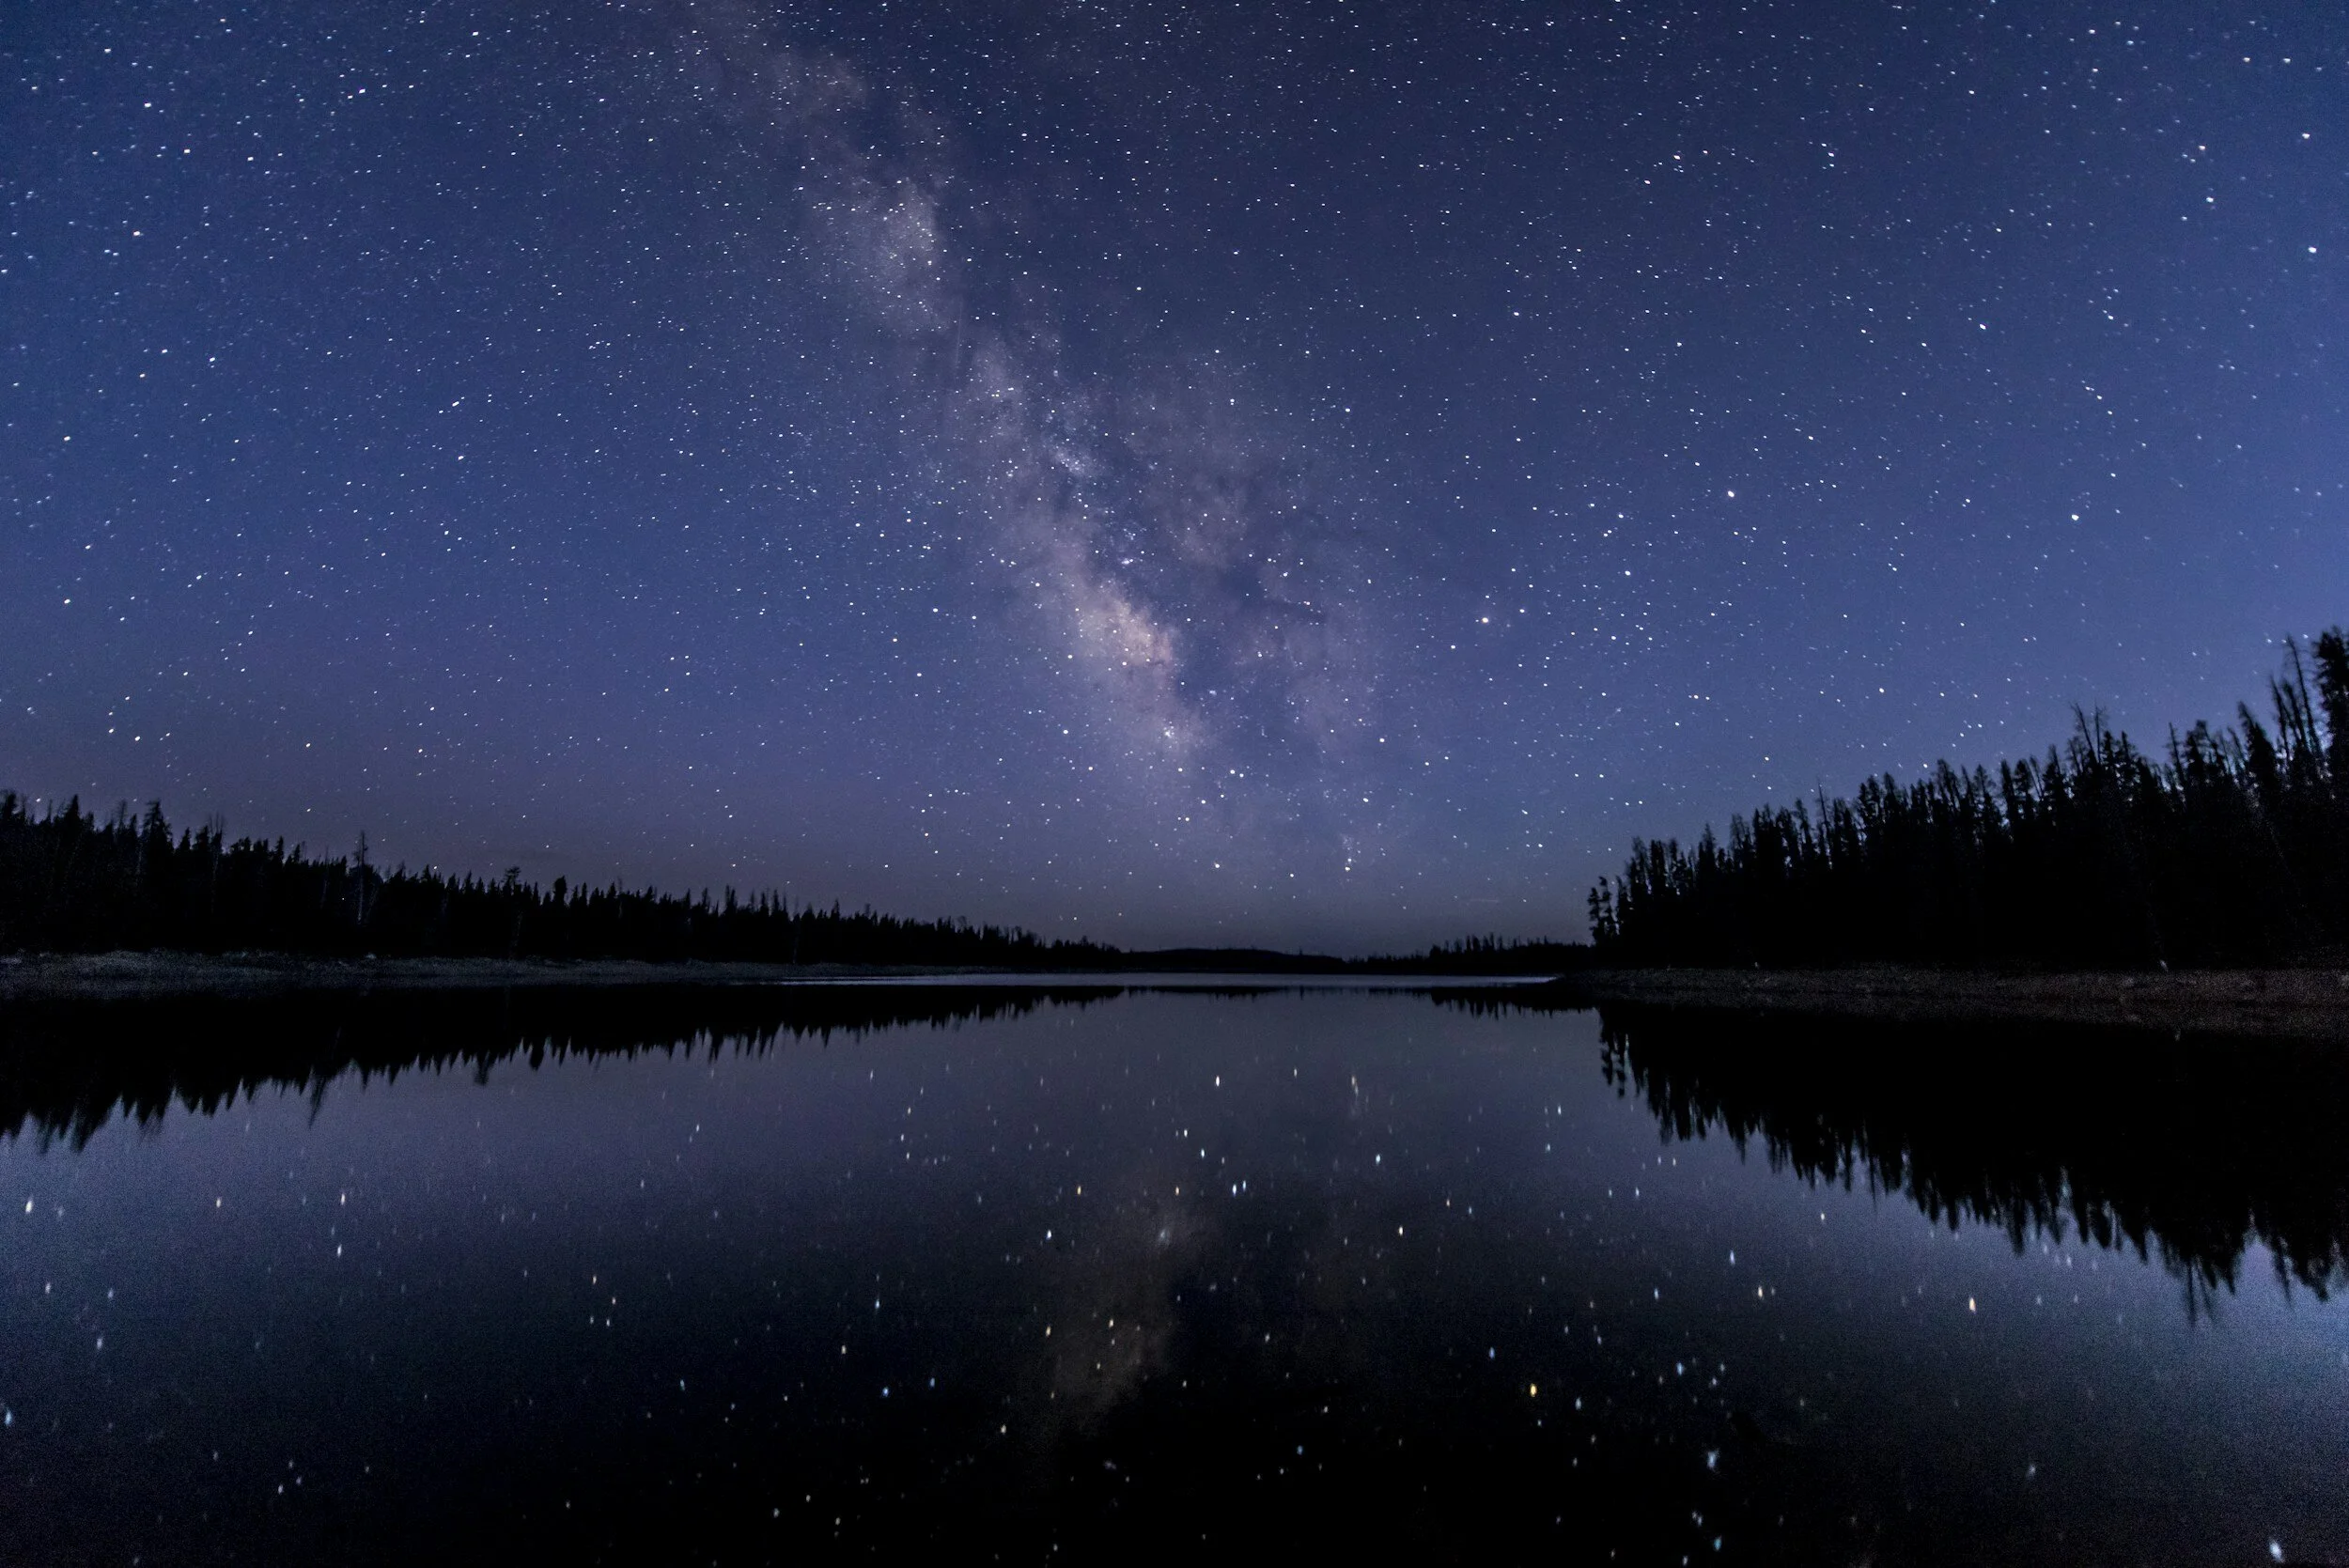
An hour after the last of the dusk has gone, somewhere west of Melbourne, you switch off the car and wait. For ten minutes the sky looks ordinary: a scatter of stars, a faint glow on the eastern horizon where the city is. Then your eyes adjust, and a pale band that you had taken for thin cloud is not cloud at all. It runs from one horizon to the other, bright and mottled at its centre, and it does not drift the way cloud does.
That band is the Milky Way, our own galaxy seen edge-on, and its brightest section, the galactic core, is one of the great sights of the southern hemisphere. Photographing it is not difficult. It does demand planning, a tripod and a few settings that break the habits of daytime photography.
When is the best time to see the Milky Way in Australia?
You can see part of the Milky Way on any clear, dark night of the year. The galactic core, the bright section most photographs feature, is seasonal. In the southern hemisphere it is best from roughly autumn to early spring.

Early in the season the core rises in the east in the small hours, so you need an alarm clock. Through winter it is high in the sky for much of the night and visible soon after dark, which makes June and July the most forgiving months. By early spring it appears in the west after dusk and sets progressively earlier each week.
The moon matters as much as the season. A bright moon washes out the Milky Way entirely. Plan around the new moon, or the days either side of it, or choose a night when the moon sets before your chosen time or rises well after it.
Planning apps make this straightforward. Astronomy and photography planning apps show where the core will be from any location at any time, often with an augmented-reality view you can hold up to the sky. Pair one with a light pollution map and a cloud forecast, and check all three on the day, because cloud forecasts change.
Where to photograph the Milky Way in Victoria
Distance from city light is everything. Melbourne's light dome is visible as a glow on the horizon from a long way out, so point your camera away from it and travel as far as you reasonably can.
- The Grampians (Gariwerd). Around three hours west, with rocky escarpments and lakes that make strong foregrounds. Melbourne lies to the south-east, so check where the core will sit and choose compositions that keep the city's glow out of frame.
- The Mallee. Big, flat, sparsely populated country in the north-west with some of the darkest skies within reach of Melbourne. Lake Tyrrell, near Sea Lake, is known for reflecting the night sky when there is a film of water over the salt.
- Wilsons Promontory. Around three hours south-east, with granite boulders and beaches facing south over Bass Strait, away from the city.
Scout in daylight. A spot that looks simple on a map can be hard to find, or unsafe, in the dark. Check Parks Victoria for access, road conditions and camping rules before you go, and respect Traditional Owner cultural sites and any areas closed to visitors.
Milky Way camera settings
Put the camera in manual mode on a sturdy tripod, and shoot raw. Then work through three settings in order.

Aperture: as wide as your lens allows. Wide, fast lenses of around 14–24mm at f/1.4 to f/2.8 are ideal. At f/4 you are working at the edge of what gives a clean result.
Shutter speed: as long as possible without the stars trailing. That limit depends on your focal length, covered below. For most set-ups it falls somewhere between about 10 and 25 seconds.
ISO: 3200–6400 is the usual range. It will look noisy on a small screen. That is normal, and a dark, underexposed raw file brightened later will usually look worse than a well-exposed one at higher ISO.
Set white balance manually to around 3,800–4,200K for a natural sky, rather than leaving it on auto. Turn off image stabilisation on a tripod unless your camera's manual says otherwise, and use a two-second self-timer or a remote release so pressing the button does not shake the camera.
The 500 rule and the NPF rule
Because the Earth rotates, stars move across the frame during a long exposure. Stay open too long and pinpoints become short streaks.
The traditional guide is the 500 rule: divide 500 by your focal length, multiplied by your crop factor if you use a smaller sensor. A 20mm lens on a full-frame camera gives 25 seconds. The same lens on an APS-C camera with a 1.5 crop factor gives about 17 seconds.
Treat the 500 rule with caution. It dates from film and low-resolution screens, and on modern high-resolution sensors viewed at full size it often allows visible trailing. The NPF rule is more rigorous because it also accounts for aperture and pixel size. It usually suggests considerably shorter exposures. At 20mm and f/2.8 on a typical 24-megapixel full-frame camera, the simplified NPF formula gives roughly 13–14 seconds, about half the 500 rule. Many planning apps include an NPF calculator. Start there, zoom into a test frame, and adjust.
The 500 rule dates from film. Modern sensors see every streak it lets through.
How to focus at night
Autofocus cannot find stars. Switch the lens to manual focus and do not trust the infinity mark on the barrel, because many lenses focus slightly past it.

Point the camera at the brightest star or planet you can find, switch to live view and magnify the screen as far as it will go. Turn the focus ring slowly until the star is the smallest, sharpest point possible. Take a test frame and check it magnified. When it is right, put a small piece of gaffer tape over the focus ring so it cannot move. Repeat the process if you change lenses or zoom.
Planning, safety and the cold
Winter nights in inland Victoria are cold, and clear nights are the coldest. Temperatures in the Grampians and the Mallee can fall close to freezing. Dress in layers, bring a beanie and gloves you can operate the camera in, and pack a thermos. Batteries drain quickly in the cold, so carry spares in an inside pocket.
Dew is the other enemy. As the air cools, moisture can settle on the front of your lens and fog every frame. A lens heater strap powered by a small battery pack solves it.
Use a head torch with a red-light setting to protect your night vision and everyone else's. Tell someone where you are going and when you expect to be back, because phone reception in the Grampians and on the Prom is patchy. Kangaroos and wombats are most active on roads around dusk and dawn, so drive slowly, and do not drive home exhausted after a late session.
If you want to learn manual exposure and focusing in the dark closer to home first, the night photography workshop at Flinders Street is a good foundation. Our photography tours for 2027–28 take the next step, out to dark skies with the planning done for you.
Practise this
- On a clear night at home, practise focusing on a bright star in magnified live view until you can do it in under two minutes by feel.
- Take a test series at 10, 15, 20 and 25 seconds at your widest focal length. Zoom in to 100 per cent and find where trailing starts on your camera.
- Use a planning app to find the galactic core's position for the next new moon from a site in the Grampians or the Mallee, and plan your foreground in daylight.
Questions, answered.
When is the best time to see the Milky Way in Australia?
What settings should I use for Milky Way photography?
Is the 500 rule accurate?
Can I see the Milky Way from Melbourne?
Published by CapturEDU, Melbourne photography education. Our educators are award-winning photographers with a Master of Arts in Photography (RMIT), AIPP and RPS membership.
