
Phone photography tips: 12 habits for better phone photos
The camera in your pocket is better than most people use it. Twelve small habits, none of which cost anything, close most of the gap.

The plate arrives and, before anyone picks up a fork, three phones rise over it. Three people, three similar phones, three very different photographs. One is hazy and flat, as if shot through fog. One has blown-out white plates and a bright glare off the cutlery. One looks like the dish on the menu. The difference was not the phone. It was whether someone had wiped the lens first, and whether anyone had turned the plate towards the window.
Modern phones are extraordinary cameras. They are also designed to make decisions for you, and they do not always make good ones. These twelve habits are the ones that make the biggest difference, on most recent iPhones and Android phones.
Before you take the photo
1. Clean the lens
A phone lens lives in pockets and bags and under thumbs. A single fingerprint spreads a haze over the whole frame, softens detail and turns every light into a glowing smear. Wipe it with a soft cloth, or the inside of a cotton shirt, before any photo you care about. This one habit fixes more bad phone photos than any setting.

2. Turn on the grid
The grid overlays two horizontal and two vertical lines on the screen. It helps you keep horizons level, keep buildings upright and place your subject off-centre where it often sits more comfortably. On iPhone, it is in Settings under Camera; on Android, it is usually in the camera app's own settings.
3. Use the lens buttons, not pinch-zoom
Many phones have two or three cameras, shown in the camera app as buttons such as 0.5x, 1x, 2x, 3x or 5x. Those numbers are the phone's real lenses or its best-quality crops. Pinching to zoom between or beyond them usually just crops and enlarges the image, and quality falls away quickly. If you need to be closer, walk closer. If you cannot, use the nearest lens button and crop later.
4. Find the light before you find the angle
Move the subject, or yourself, until the light falls from the side. A plate near a window, a face turned slightly towards the afternoon sun, a street scene with the light raking across it. Overhead light in a café or at noon flattens everything. Side light gives shape.
While you take the photo
5. Tap to focus, then lock it
Tap on the screen where you want the phone to focus, and it usually sets exposure there too. Touch and hold instead, and most phones lock both. On iPhone, a yellow AE/AF Lock label appears; on Android, the method varies by brand. Locking stops the phone changing its mind as you recompose or as something moves through the frame.
6. Pull the exposure down
After you tap to focus, a small slider appears, usually a sun icon. Drag it down slightly. Phones tend to brighten scenes, and bright skies, white plates and sunlit faces lose detail easily. A slightly darker photo can be brightened in editing. A blown-out one cannot be recovered.
7. Use burst for anything that moves
For a child, a dog or a wave, take a burst and pick the best frame later. On recent iPhones you slide the shutter button to the left to fire a burst; on many Android phones you hold the shutter button, or turn the feature on in the camera settings. Holding the shutter on some phones records video instead, so check how yours works before the moment arrives.
8. Hold still in night mode
In low light, most recent phones switch to a night mode that takes a series of frames over one to several seconds and blends them. It works remarkably well, but only if the phone stays still for the whole capture. Brace your elbows against your body, or rest the phone on a table or wall, and keep holding until the capture finishes. On iPhone, a number beside the night mode icon shows how many seconds it will take.
A slightly darker photo can be brightened later. A blown-out one cannot be recovered.
Know what your phone is doing
9. Know where portrait mode fails
Portrait mode imitates the soft background of a wide-aperture lens using software. It can be convincing for a single person a couple of metres away with plenty of space behind them. It struggles at edges: flyaway hair, glasses, the gaps in a fence, a wine glass, anything with holes or fine detail. Check those areas at full size before you trust it. On many recent phones you can adjust or remove the blur after the photo is taken.
10. Turn off the flash
A phone flash is small and sits right beside the lens. It lights the subject flat and harsh, reflects off glass and gives red or glowing eyes. Night mode or window light will almost always look better. Keep the flash for emergencies, or for filling a shadow on a face in harsh sun.
11. Get closer and lower
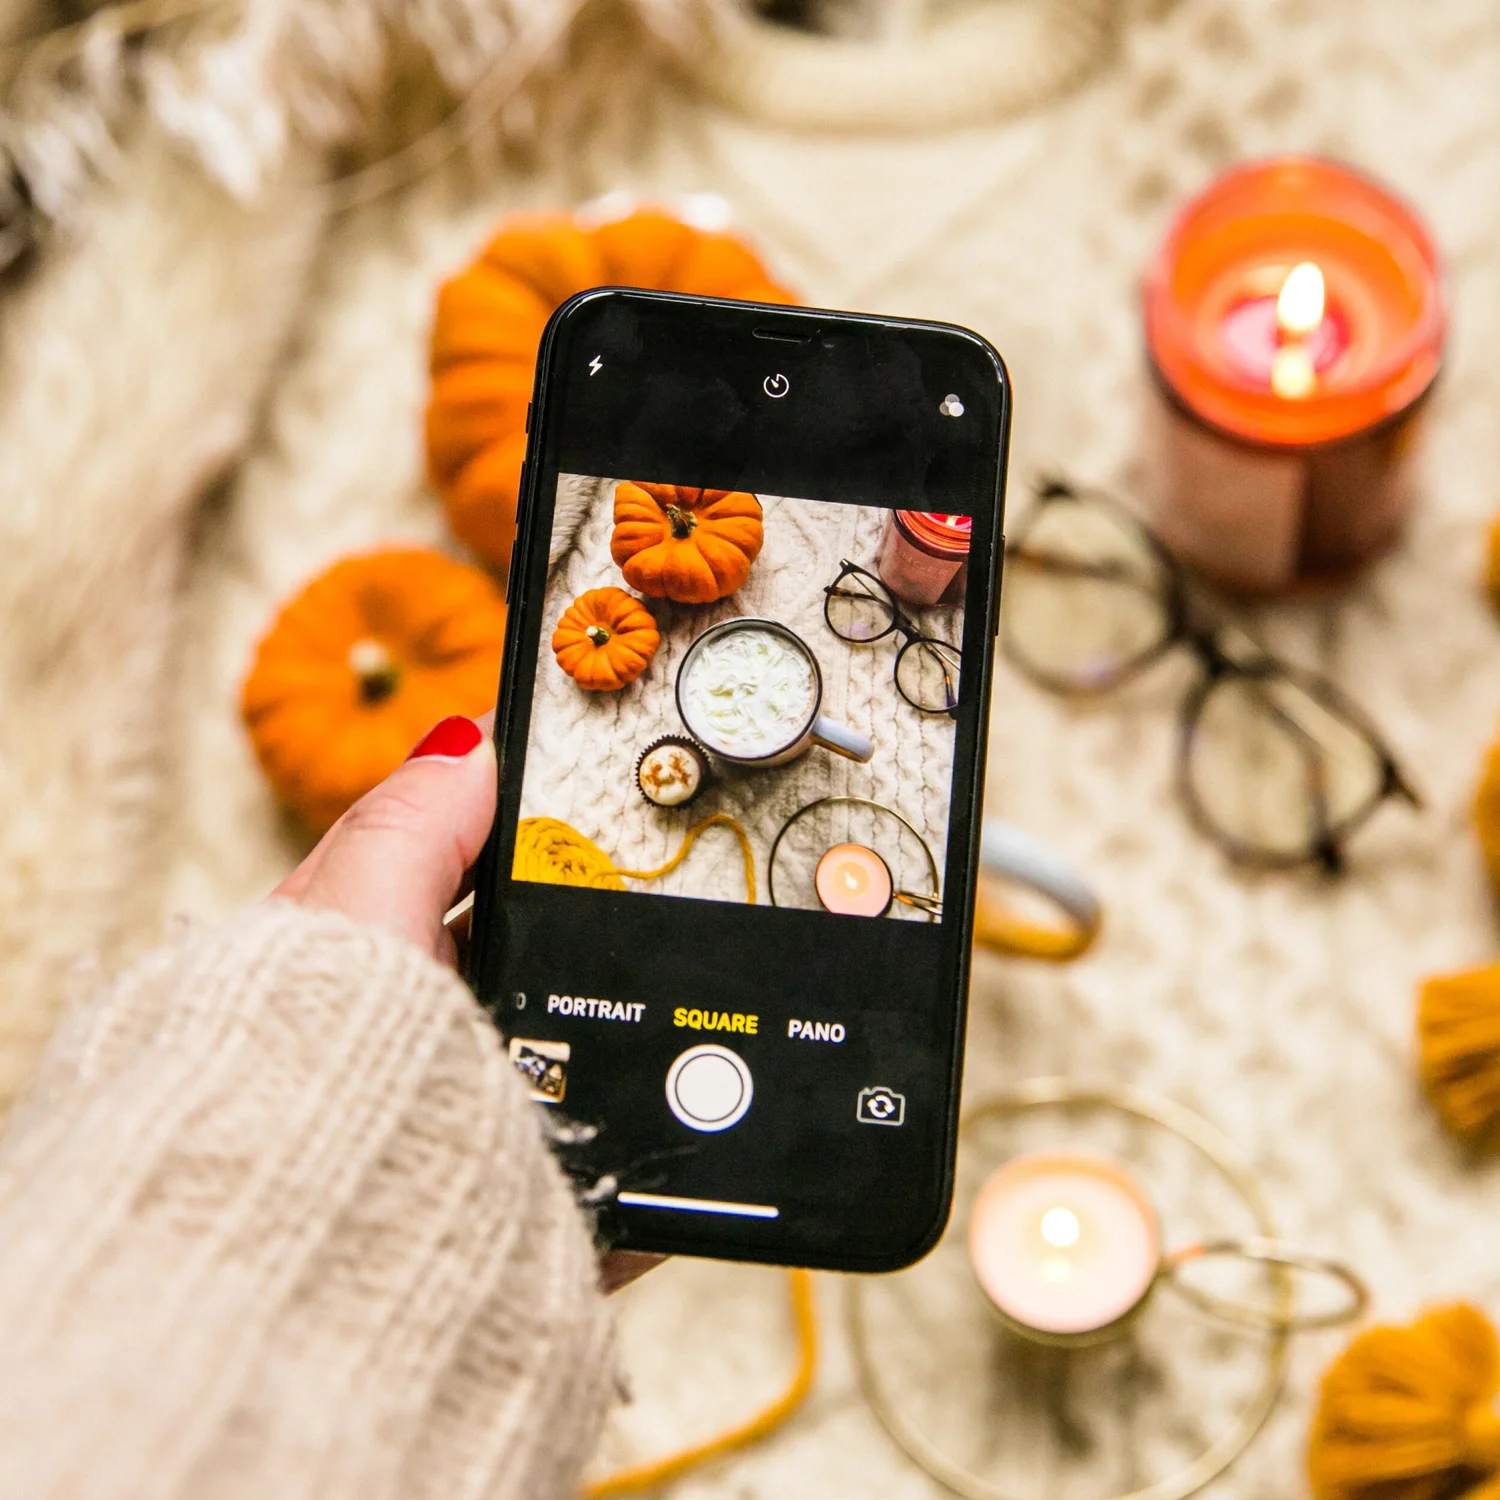
Most phone photos are taken from standing height, with the phone held at chest level. Crouch. Lean in. Photograph a child at their eye level, a dog from the ground, a bowl of pumpkins from the side rather than above. Changing height is the fastest way to make a familiar scene look fresh.
After you take the photo
12. Edit lightly
The built-in editor on most phones is capable. Use it with restraint. Straighten the horizon. Crop to tighten the composition. Adjust exposure, then warmth. If you use a filter, reduce its strength so it supports the picture rather than taking it over. Pushed saturation and heavy sharpening are the quickest ways to make a phone photo look like a phone photo.

Taken together, these habits change the question from what the phone can do to what you want the picture to be. If you would like to work through them with someone looking over your shoulder, our smartphone photography workshop covers every one on your own phone. Our guide to ways to learn photography in Melbourne sets out where to go from there.
Practise this
- Take the same photo twice, before and after cleaning the lens. Compare them at full size.
- Photograph a meal or a cup of coffee in three places: under an overhead light, beside a window, and with the window behind it. Keep the one you like and note why.
- Choose one scene and shoot it with each of your phone's lens buttons, then once with pinch-zoom to the same framing. Compare the detail.
Questions, answered.
How do I make my phone photos look more professional?
Why are my phone photos blurry?
Should I use the zoom on my phone camera?
Is portrait mode good for photos?
Published by CapturEDU, Melbourne photography education. Our educators are award-winning photographers with a Master of Arts in Photography (RMIT), AIPP and RPS membership.
