
ND filters explained: long exposure photography for beginners
A dark piece of glass, a tripod and some simple arithmetic turn restless water into silk. Here is how ND filters work, and how to calculate the exposure without guessing.
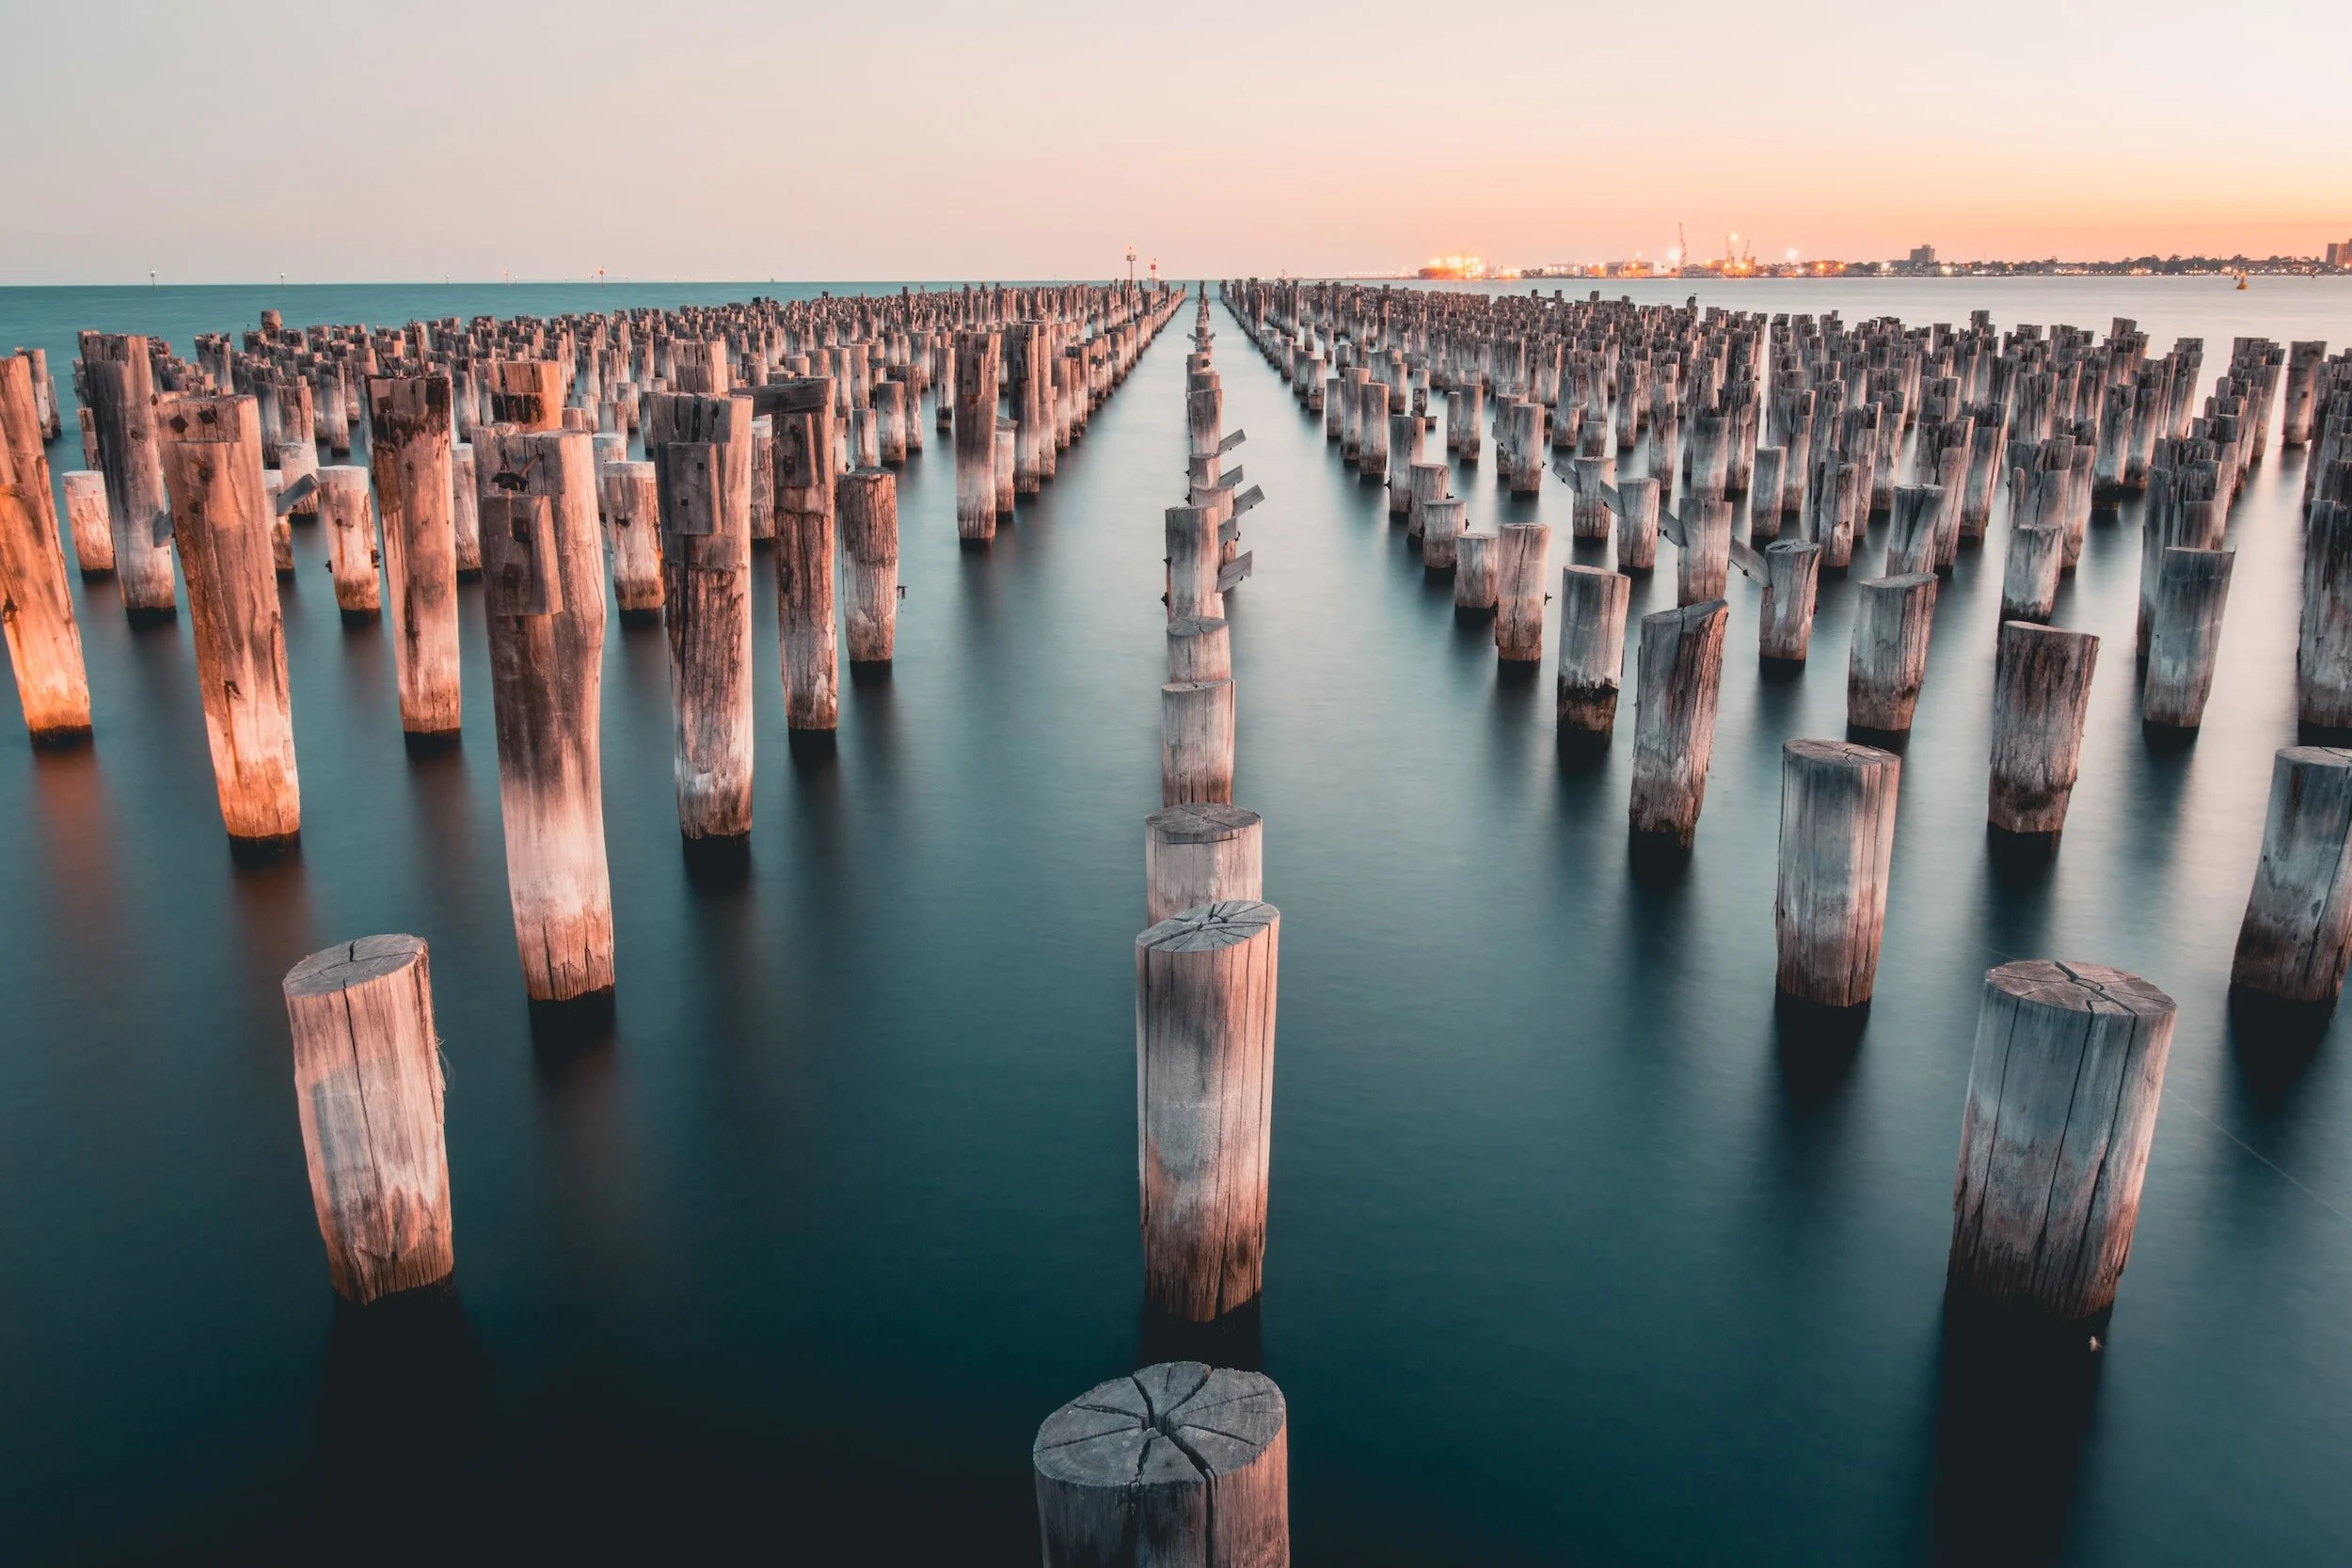
At Princes Pier, in the minutes after the sun slips into Port Phillip Bay, the water between the old timber piles never quite settles. A light breeze runs ripples through the rows. A ferry wake arrives a minute later. At 1/125 second every one of those ripples is frozen as a hard little glint of orange. Put a dark piece of glass in front of the lens, leave the shutter open for 30 seconds, and the same water turns to something like brushed pewter. The piles stay sharp. Everything that moved is gone.
That dark glass is a neutral density filter. It is the simplest way into long exposure photography, and one of the most misunderstood bits of kit in a beginner's bag.
What is an ND filter?
A neutral density (ND) filter reduces the amount of light reaching the sensor without, in theory, changing its colour. Neutral is the promise. Density is how much light it holds back. The filter adds no drama and smooths nothing by itself. It simply buys you time. It lets you use a slower shutter speed than the light would otherwise allow.

That matters because on a bright afternoon, even at ISO 100 and f/16, your camera may want something like 1/125 second. You cannot get to two seconds, let alone two minutes, without blowing the exposure out. Stopping down to f/22 buys a stop and costs you sharpness through diffraction. An ND filter removes the light so the shutter can stay open.
Filters are rated in stops, and each stop halves the light. Manufacturers label them three different ways, which causes most of the confusion:
- 3 stops: sold as ND8 or ND 0.9. Passes one-eighth of the light.
- 6 stops: ND64 or ND 1.8. Passes one sixty-fourth.
- 10 stops: ND1000 or ND 3.0. Passes roughly one-thousandth.
The ND number is the factor you multiply your shutter speed by. The decimal is optical density, where every 0.3 equals one stop.
ND filter calculator: working out your exposure
The method never changes. Compose and focus without the filter. Meter the scene, set the exposure in manual, and note the shutter speed. Then double that shutter speed once for every stop of filtration. Three stops is three doublings, so multiply by 8. Six stops, multiply by 64. Ten stops, multiply by 1,024.
The table does the arithmetic for common starting points, rounded to the nearest practical setting.
| Base shutter speed | 3-stop (ND8) | 6-stop (ND64) | 10-stop (ND1000) |
|---|---|---|---|
| 1/1000 s | 1/125 s | 1/15 s | 1 s |
| 1/250 s | 1/30 s | 1/4 s | 4 s |
| 1/125 s | 1/15 s | 1/2 s | 8 s |
| 1/60 s | 1/8 s | 1 s | 17 s |
| 1/30 s | 1/4 s | 2 s | 34 s |
| 1/15 s | 1/2 s | 4 s | 68 s |
| 1/4 s | 2 s | 16 s | 4 min 16 s |
Most cameras stop at 30 seconds in manual mode. Beyond that, switch to Bulb and time the exposure with a remote release, or use the camera's built-in long-exposure timer if it has one. Phone apps will do these sums for you, but learn them anyway. Once you know a 10-stop filter turns 1/60 into about 17 seconds, you can adjust on the spot without reaching for your phone with cold hands.
Two caveats. Light falls quickly around sunset, so an exposure calculated at 5.40pm may be a stop dark by 5.50pm. Check the histogram and lengthen as you go. And filter ratings are approximate: your 10-stop may behave like 9.7 or 10.3. Make one test frame, read it, correct.
Focus is the other trap. With a 10-stop filter on, most cameras cannot autofocus. Focus first, switch the lens or camera to manual focus, then fit the filter.
Square vs screw-in ND filters
Screw-in filters thread onto the front of the lens. They are compact, relatively affordable and seal well against stray light. The drawbacks: you need one for each filter thread size, or step-up rings to adapt a larger filter to smaller lenses. They are fiddly to remove with gloves on. And stacking two on a wide-angle lens often darkens the corners.

Square systems use a holder that clips onto an adapter ring, with 100 mm (or larger) glass sliding into slots. They cost more and take up more room in the bag, but they let you combine an ND with a graduated filter to hold back a bright sky, and swapping filters is quick. Their weak point is light creeping in around the edges of the holder during very long exposures; better systems use a foam gasket to seal the gap.
For a first filter, a good-quality 6-stop is the most useful single purchase. It takes you from fractions of a second to several seconds in the soft light around sunset, which is where most people make their first long exposures. A 10-stop is the specialist: it works in daylight and delivers the multi-minute exposures that erase texture from water and drag clouds into streaks.
The filter adds no drama and smooths nothing by itself. It simply buys you time.
Colour casts and covering the viewfinder
Few ND filters are perfectly neutral. Cheaper ones, and dense ones in particular, often add a warm, magenta or blue cast that grows stronger with more stops. Shoot raw and it is a quick correction in editing. Better still, photograph a grey card with and without the filter once at home, and you will know exactly what adjustment your filter needs every time.
DSLR users have one more job. Light entering the optical viewfinder eyepiece can leak past the raised mirror and reach the sensor during a long exposure. With a 10-stop filter in daylight, that stray light is a meaningful share of the total, and it shows up as haze, low contrast or a coloured flare. It can also fool the meter. Close the eyepiece shutter if your camera has one, or fit the eyepiece cover supplied with many models. A folded cloth works in a pinch. Mirrorless cameras use an electronic viewfinder and are not affected in the same way.
Long exposure on Port Phillip Bay: tides, wind and timing
Melbourne's bay beaches suit long exposure in a way the surf coast often does not. The water is usually calm enough to go glassy, and there are structures standing in it. The piles at Princes Pier, the piers at Brighton and the St Kilda breakwater all give moving water something fixed to play against. Our guide to the best photography spots in Melbourne covers more.
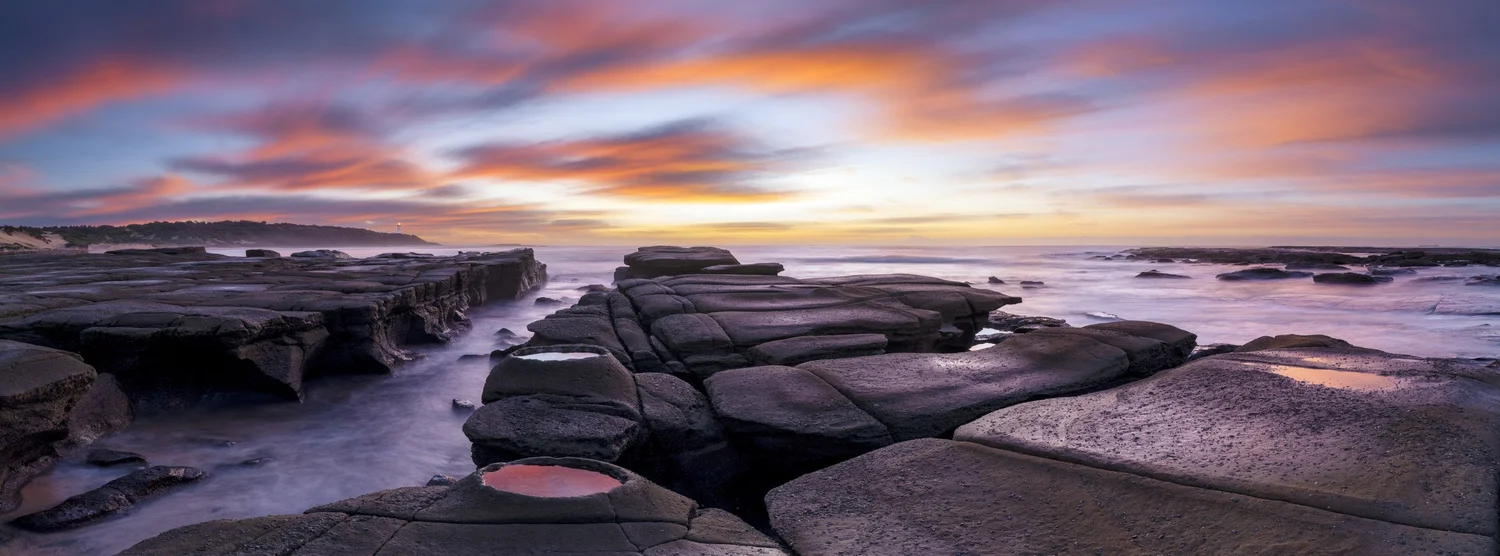
Check the tide before you leave home. The tidal range inside Port Phillip is small compared with the open ocean coast, but at a pier a few tens of centimetres changes the picture. A higher tide covers the base of the Princes Pier piles and gives clean vertical lines rising from smooth water. Low tide exposes more timber and the weed around it. Neither is wrong. They are different photographs, so decide which one you want. The Bureau of Meteorology publishes tide predictions for several bay locations, including Williamstown.
Wind matters as much as tide. A still evening gives mirror-flat water in a few seconds. A fresh breeze needs 30 seconds or more before the chop averages out, and it will shake a light tripod. Keep the legs short, leave the centre column down, and hang your bag low for weight.
Then there is timing. In the half-hour after sunset the light fades evenly, and a 6-stop filter gives exposures of several seconds. By blue hour you may not need a filter at all. For a two-minute exposure with streaked clouds, you need a 10-stop in daylight or early golden hour. The Princes Pier sunset workshop is built around exactly this light.
Practise this
- Pick one scene with water and one fixed object. Photograph it at 1/125, 1 second, 8 seconds and 30 seconds, and compare what each speed does to the water.
- Without looking at the table, calculate the 6-stop and 10-stop exposures for a base of 1/30. Then check your answer (2 seconds and 34 seconds).
- Shoot a grey card or white wall with and without your ND filter, and note the white balance correction your filter needs.
Questions, answered.
What is an ND filter used for?
What ND filter should a beginner buy first?
How do you calculate exposure with a 10-stop ND filter?
Why do my ND filter photos have a colour cast?
Published by CapturEDU, Melbourne photography education. Our educators are award-winning photographers with a Master of Arts in Photography (RMIT), AIPP and RPS membership.

