
Zoo photography tips: glass, wire and the patience to wait
Zoo animals cannot leave, which makes them ideal subjects for learning wildlife technique. The difficulty is everything in between: glass, wire, concrete and crowds. Here is how to beat each one.
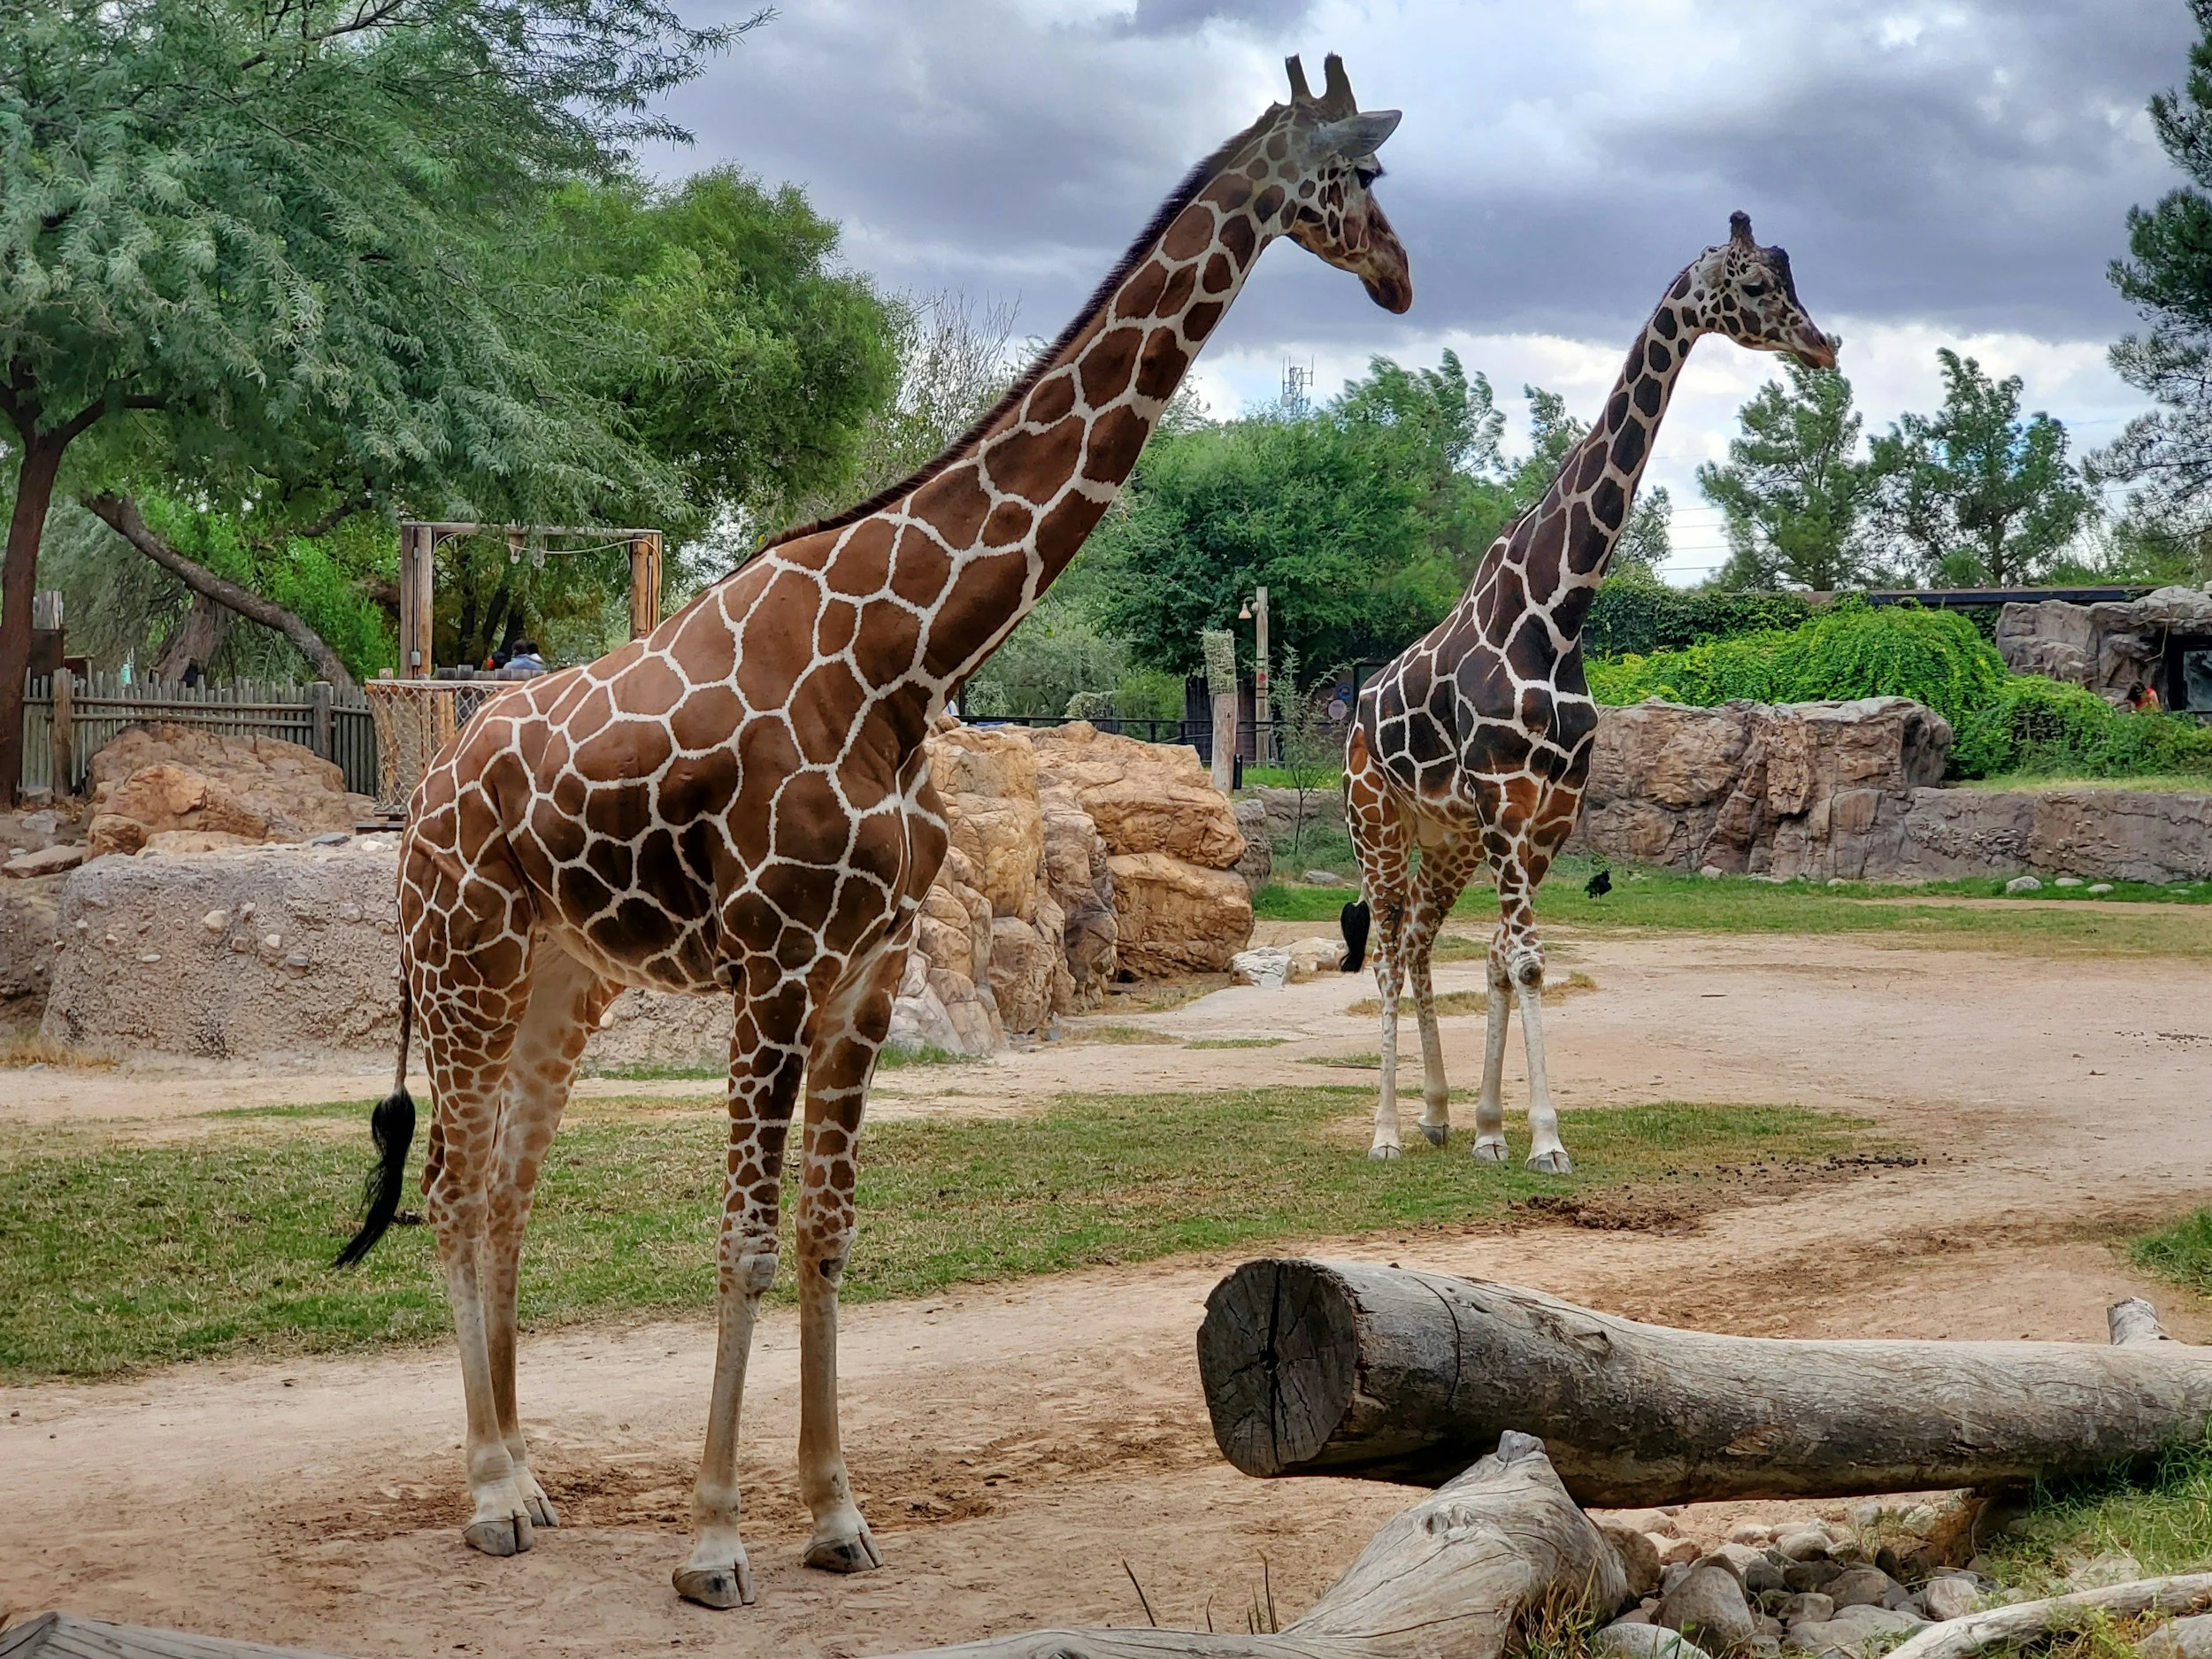
The giraffe takes four slow strides across the enclosure, dips its head toward a feeder, and for about two seconds looks straight down the lens. Most people at the rail miss it. Their cameras are still hunting for focus on the fence, or set to 1/60 second, or pointed at the reflection of their own red jacket in the glass. The animal was never the hard part. The hard part is everything between you and it.
Zoo photography looks easy because the subjects cannot leave. In practice it is a small puzzle of glass, wire, concrete, crowds and flat midday light. Solve those and a zoo becomes one of the best places to learn wildlife technique, with subjects you can return to week after week.
Camera settings for photographing animals at the zoo
Start with autofocus. Set continuous AF (AF-C on most brands, AI Servo on Canon) so the camera keeps adjusting focus as the animal moves. If your camera has animal or eye detection, turn it on; it is one of the genuine advances of recent years. If not, use a single AF point or a small zone and place it on the eye yourself.

Shutter speed matters more than anything else. A sleeping lion will forgive 1/250 second. A walking giraffe needs 1/500. Primates at play, otters, and birds in the aviaries want 1/1000 to 1/2000. When in doubt, go faster; noise from a higher ISO is easier to live with than motion blur.
The simplest way to manage all this is shutter priority, or manual exposure with Auto ISO. Choose the shutter speed and an aperture near wide open, and let the camera float the ISO. Lenses in the 70–300 mm or 100–400 mm range are ideal, though a 70–200 mm will do more than you expect in a zoo, where many animals are closer than in the wild.
How to photograph through glass
Glass fails for one of three reasons: reflections, dirt, or an angle that distorts the view. Each has a fix.
Get the lens as close to the glass as possible. Reflections come from light hitting the glass between the lens and the pane; close that gap and they disappear. A collapsible rubber lens hood is the best accessory a zoo photographer can own, because you can press it flat against the glass and seal out the room behind you. Without one, cup your hand around the end of the lens.
Wear dark clothes. A white T-shirt or bright jacket reflects clearly in glass, especially in darker indoor exhibits. Black or navy makes you invisible to your own photographs.
Shoot square-on where you can. Photographing through thick glass at a steep angle softens the image and can add colour fringing. If the animal is off to one side, move along the window rather than angling the lens.
Finally, choose your patch. Glass in a busy exhibit is covered in handprints and scratches. Find the cleanest section at the height you need and wait there for the animal to come to you.
How to photograph through wire and fences
Wire and mesh behave differently from glass, and the fix is the same trick in reverse: get close and throw it out of focus. With a long focal length and a wide aperture, a fence 20 cm in front of your lens becomes a faint haze, provided the animal is well behind it. Line the lens up with a gap in the mesh if one is large enough.
The further the animal from the wire, the easier this gets. An animal pressed against the fence will always show it. Manual focus can help when autofocus insists on locking onto the wire; many cameras also let you limit the focus range so the lens ignores anything close.
Backgrounds, eye contact and patience
Most weak zoo photographs are weak because of what is behind the animal. Concrete walls, water troughs, signage, keepers' doors and other visitors all shout for attention. Before you press the shutter, look past the subject. Moving a metre left or right, or crouching lower, often swaps a painted wall for foliage. Longer focal lengths help too, because they narrow the slice of background you see.
Then wait for the eyes. A photograph of an animal looking away is a record; one where the animal meets the lens, or looks into the frame, feels like an encounter. Shoot at the animal's eye level where the enclosure allows, rather than down on it from a viewing platform.
The animal was never the hard part. The hard part is everything between you and it.
Patience is the real technique. Pick one enclosure, settle in, and watch for 20 minutes. You will start to see patterns: where the orangutan likes to sit, which rock the meerkat uses as a lookout, the path the giraffes take to the feeder. Once you know where the action will be, you can prefocus and compose before it happens, which is how professional wildlife photographers work in the field.
When to go: timing your zoo visit
Arrive at opening. Many animals are more active in the cooler morning hours, particularly in summer, when they retreat to shade and sleep through the afternoon heat. Morning light is also softer and lower, which is kinder to fur and feathers than the hard midday sun. Overcast days are underrated: the light is even, the glare on glass drops, and colours stay rich.

Check the day's keeper talk and feeding schedule when you arrive. Feeding times bring animals into predictable positions and often into activity. Weekday mornings outside school holidays are also quieter, which means fewer reflections from other visitors and more room at the glass.
Zoo photography ethics
A few rules are non-negotiable. No flash: many exhibits prohibit it, it reflects straight back off glass, and it can stress animals, particularly nocturnal species in dim enclosures. Turn off the focus-assist lamp too if your camera has one. Never tap the glass, whistle or make noises to get an animal's attention. Follow the zoo's rules on tripods and monopods, and keep your gear from blocking paths or children's views.
It is also worth being honest in how you present the work. A tight zoo portrait can look like it was taken on safari. Caption it as a zoo photograph. There is nothing lesser about it, and it keeps the trust of the people looking at your pictures.
If you want feedback while you practise, our Melbourne Zoo wildlife workshop covers autofocus, glass and backgrounds in three hours with a small group. For help setting up autofocus menus on your own camera, a private photography lesson is the fastest route.
Practise this
- Choose one glass-fronted exhibit and make ten frames with the lens pressed to the glass and ten from a step back. Compare the reflections.
- Spend 20 minutes at a single enclosure. Note where the animal returns to, prefocus there, and wait for the eye contact.
- Photograph the same moving animal at 1/250, 1/500 and 1/1000 second, and see which speed actually freezes it.
Questions, answered.
What is the best shutter speed for zoo photography?
How do you take photos through glass without reflections?
Can you use flash at the zoo?
What lens is best for zoo photography?
Published by CapturEDU, Melbourne photography education. Our educators are award-winning photographers with a Master of Arts in Photography (RMIT), AIPP and RPS membership.
