
Composing animal portraits: eye level, behaviour and story
Sharp focus gets an animal into the frame. Eye level, patience, background and a sense of story are what make the photograph worth a second look, wherever the animal lives.
A black swan is drifting along the edge of Albert Park Lake. Photographed from the path, standing up, it is a dark shape on grey water, seen from above like a specimen on a tray. Kneel on the bank, lower the camera until the lens is almost touching the surface, and the same bird becomes something else. The water turns into a soft band of colour, the far shore melts away, and the swan's red eye sits level with yours. Nothing about the bird changed. The photograph did, because the photographer moved.
Technical skill gets an animal sharp. Composition decides whether anyone cares. The good news is that the choices that make animal portraits work are the same wherever animals are: a zoo, a sanctuary, the local lake, the backyard, or the dog asleep on the couch.
Why eye level matters in animal photography
Most animal photographs are taken from human standing height, looking down. It is the most natural position for us, and the least interesting for the viewer. Looking down on an animal makes it small, places it against the ground, and turns the picture into an observation rather than an encounter.
Get down to the animal's eye level. For a dog, that means kneeling or lying on the floor. For a duck on the water, it means the lens a few centimetres above the surface. For a kangaroo grazing at dusk, it means crouching, at a respectful distance. The effect is immediate: the animal becomes a subject on equal terms, and the background moves from the ground behind it to something much further away, which is easier to blur.
The reverse works too, sparingly. Photographing up at a bird on a branch or a giraffe's head against the sky exaggerates height and power. What rarely works is the default: a standing adult pointing the camera down.

Reading animal behaviour for better photos
The difference between a record shot and a portrait is usually a moment: a head turned towards the light, ears forward, a yawn, a look straight down the lens. Those moments are fleeting, but they are not random. Animals repeat themselves, and the photographer who has watched for a while can see them coming.
Spend the first ten minutes with any animal not taking photographs. Watch where it goes, how it moves and what it does before it does something interesting. Birds often shake or stretch before they fly. Grazing animals lift their heads at regular intervals to check the surroundings. Big cats and dogs tend to yawn shortly after waking. Once you know the pattern, you can compose and focus in advance, then wait.
Ears, eyes and posture tell you about attention. An animal with ears forward and eyes on something is alert and engaged, and it will look more alive in the frame. A burst of frames at the key moment, at 1/500 s or faster, helps you catch the exact instant the head turns.
Technical skill gets an animal sharp. Composition decides whether anyone cares.
How to get clean backgrounds in animal portraits
A clean background is not luck. It comes from three things you control: the distance between the animal and whatever is behind it, your focal length, and your aperture.
Distance matters most. An animal standing in front of a wall two metres behind it will always show the wall. The same animal with open ground or distant trees 30 metres behind will sit against a smooth wash of colour. Before you shoot, move. A step to the left, a crouch or a slightly different angle often puts far-away foliage behind the head instead of a fence, a car or a bin.
A longer focal length narrows the slice of background you see and makes it look larger and softer. A wide aperture, f/2.8 to f/5.6 on most telephoto lenses, reduces the depth of field so the background dissolves. Combine all three and even a suburban park can look like wilderness.
Also watch the edges of the frame. A bright patch of sky in a corner, a stray branch across the face or a second animal cut in half will pull attention from the subject. If it does not help the portrait, reframe until it has gone.
Framing: where to place the animal and its eyes
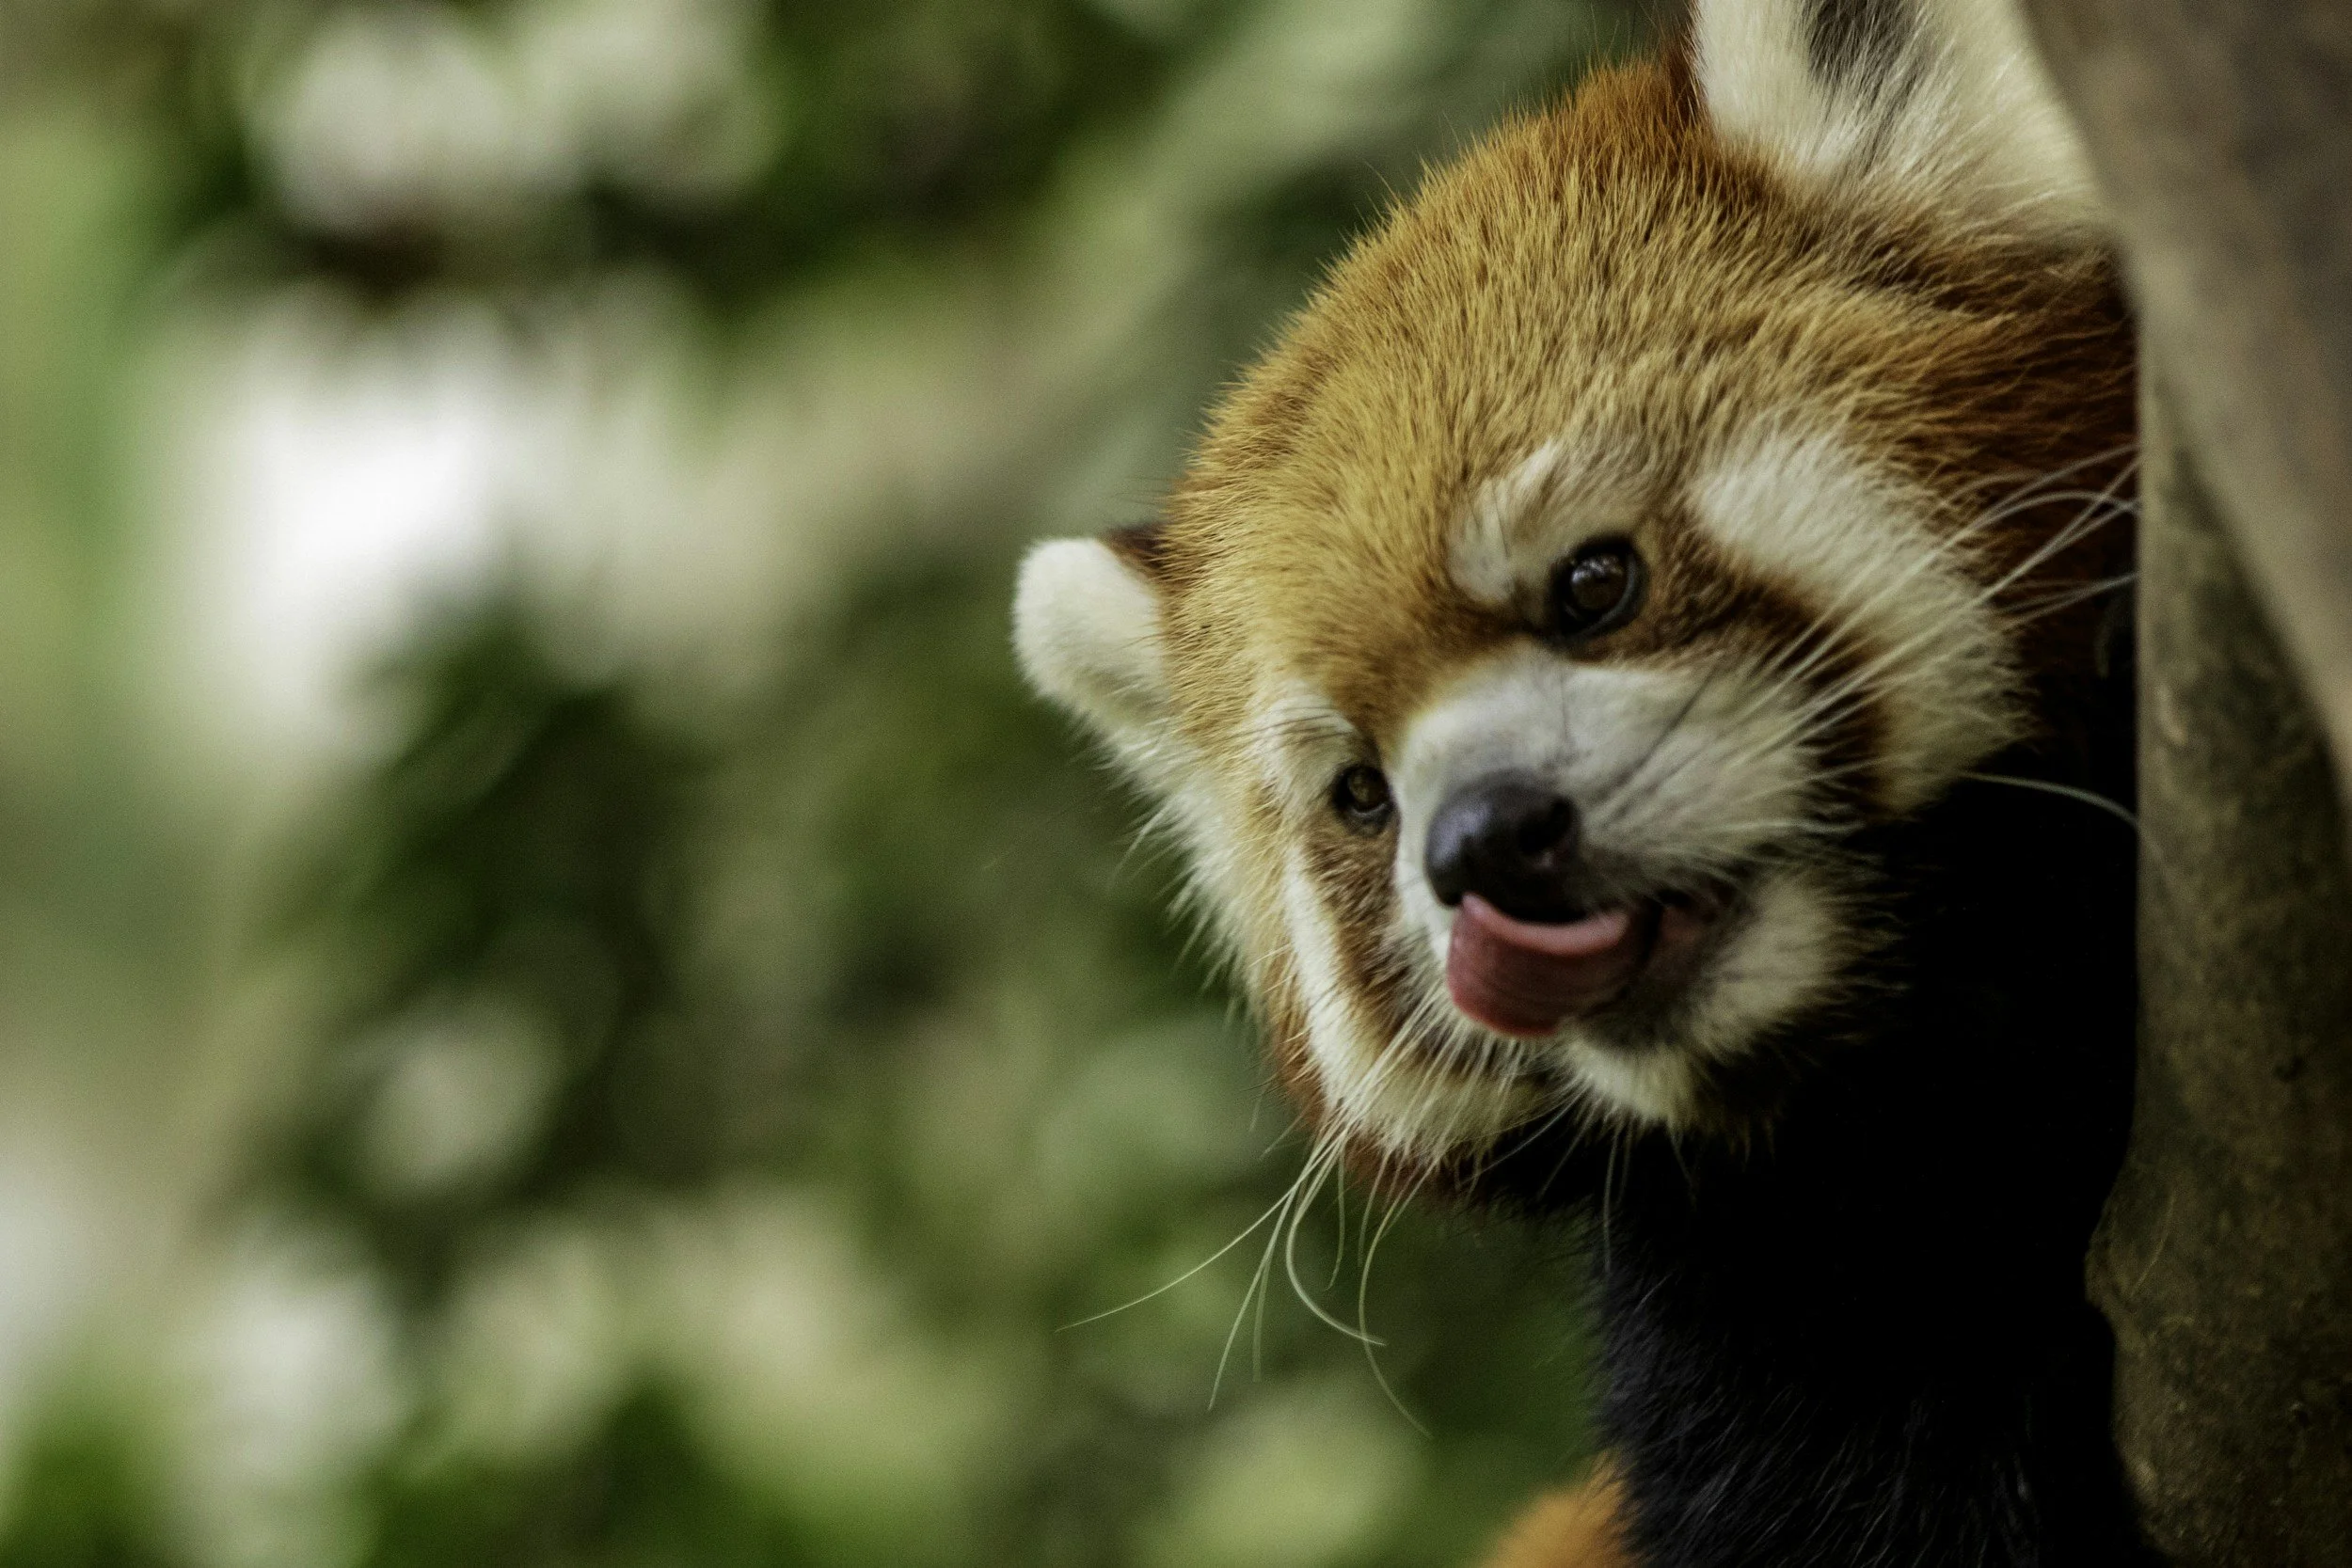
The eye is the anchor of any animal portrait. Focus on it, specifically the eye nearest the camera, and make sure it is sharp. A catchlight, the small reflection of sky or light in the eye, gives life to the face; turning to find it is often worth a few extra seconds.
Where you place the eye matters too. Putting it roughly on a third, near the upper third line of the frame, tends to feel balanced. Then give the animal room to look into. If the head faces left, leave more space on the left side. An animal looking out of a tight frame edge feels boxed in; one looking into open space suggests movement and attention.
Decide how much of the animal the picture needs. A tight head portrait emphasises expression and texture: fur, feathers, the wet shine of a nose. A three-quarter or full-body frame shows posture and shape. Avoid cutting through joints, such as the knees or a tail halfway along. Crop either well above them or leave them in.

Storytelling in wildlife photography
A single sharp face is a portrait. Add behaviour, relationship or place, and it becomes a story. Wildlife photographers often talk about three kinds of images worth making of any animal.
The first is the portrait: close, clean, eye contact. The second is behaviour: feeding, grooming, playing, calling, a parent and its young. These frames explain what the animal does, not only what it looks like. The third is the animal in its environment: a small koala high in a gum tree, pelicans against a wide sweep of Port Phillip Bay, a lone kangaroo on an open paddock at sunset. Here the animal can take up a tiny part of the frame, and the surroundings carry the meaning.
Interactions are the richest source of story. Two animals touching, one watching another, a bird feeding a chick. They require patience and anticipation, which brings everything back to watching behaviour first.
Whatever you photograph, the animal's welfare comes before the picture. Keep your distance, do not bait or feed wildlife for a photograph, stay away from nests and young, and leave if an animal shows signs of stress. At sanctuaries and zoos, follow the rules on flash and barriers.
Healesville Sanctuary, Werribee Open Range Zoo, the wetlands around Port Phillip Bay and Melbourne Zoo all offer good practice, and our Melbourne Zoo wildlife workshop puts these ideas to work with a small group. The guide to Melbourne photography locations suggests more places to practise, and a private lesson can set up autofocus for moving animals on your own camera.
Practise this
- Photograph a pet or park bird twice: once standing, once at its eye level. Compare the backgrounds as well as the subject.
- Watch one animal for ten minutes without shooting. Write down one repeated behaviour, then prefocus and wait for it.
- Make three frames of the same animal: a tight portrait, a behaviour shot and a wide environmental image.
Questions, answered.
How do you compose a photo of an animal?
Where should you focus in animal photography?
How do you get a blurry background in animal photos?
What makes a good wildlife photograph?
Published by CapturEDU, Melbourne photography education. Our educators are award-winning photographers with a Master of Arts in Photography (RMIT), AIPP and RPS membership.
