
The exposure triangle explained: aperture, shutter and ISO
Three settings decide how bright every photograph is. Each one also changes how the picture looks, and that second job is the one worth learning.
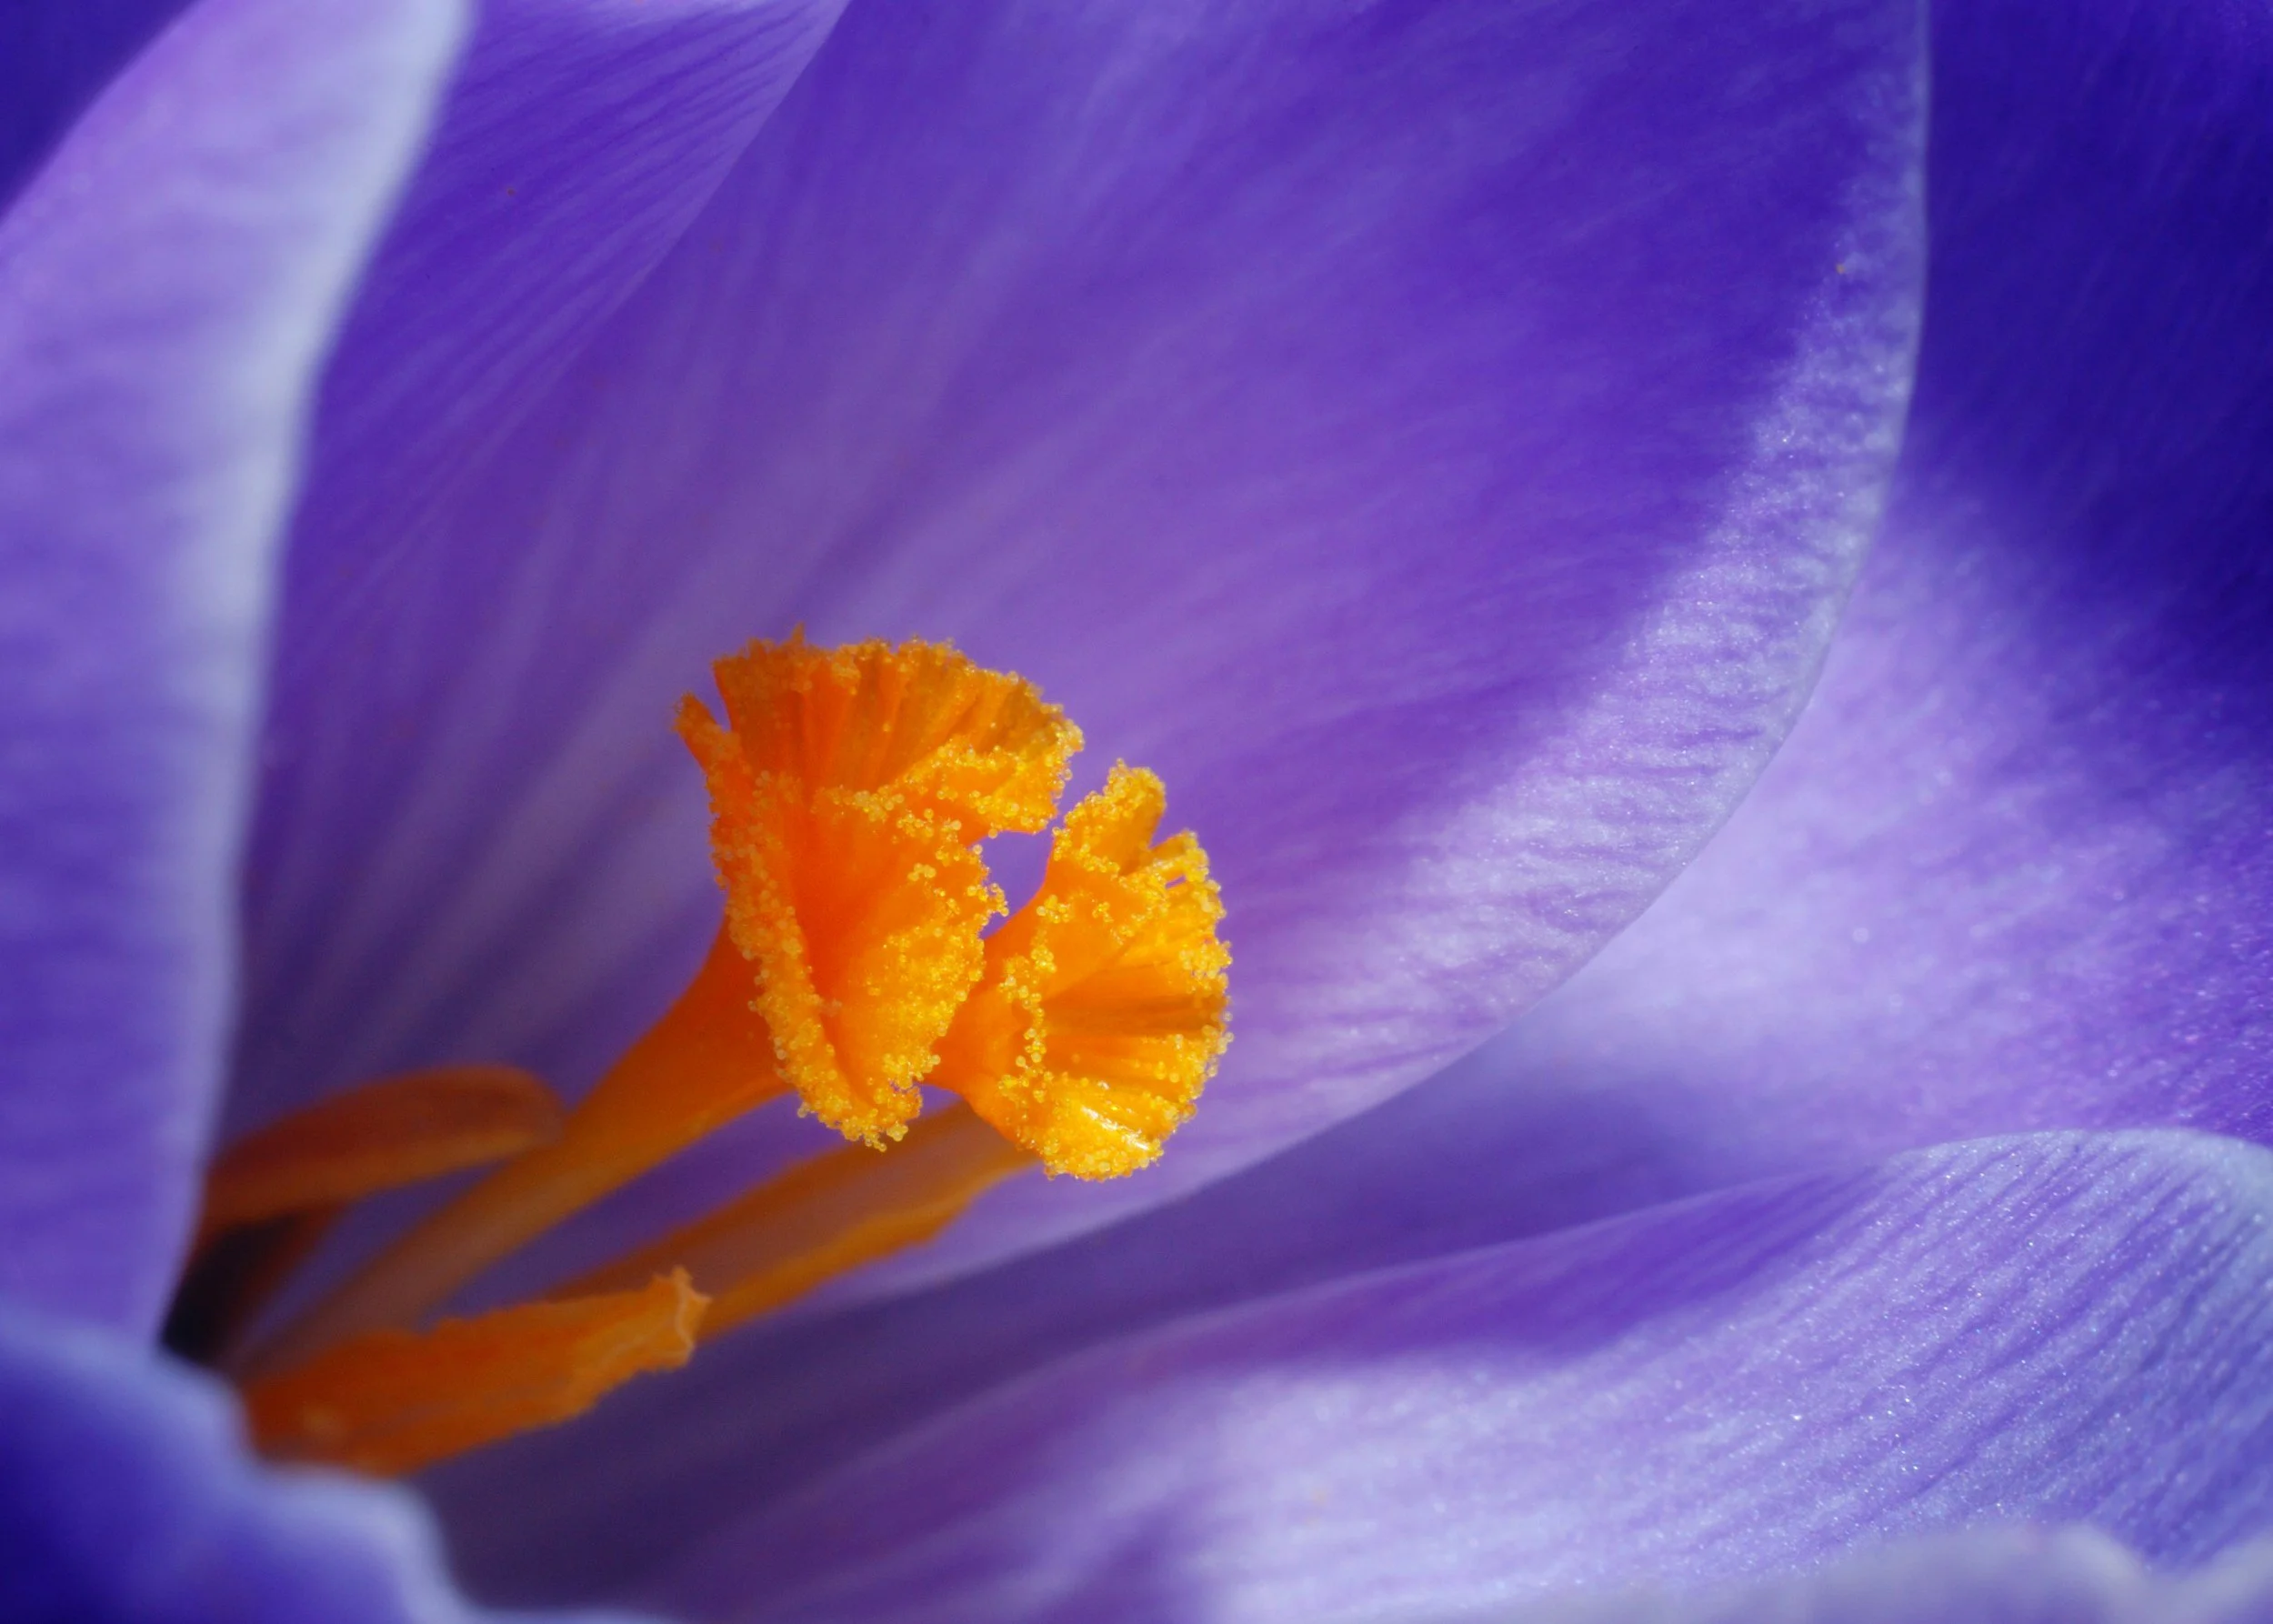
A crocus stands about as tall as a matchbox. Lie on the grass beside one in late winter, open the lens to f/2.8 and move in until the orange stamens fill the centre of the frame. Everything behind them dissolves. The other flowers, the lawn, the garden bed: all of it melts into a wash of purple. Nothing about the scene changed. You changed one number.
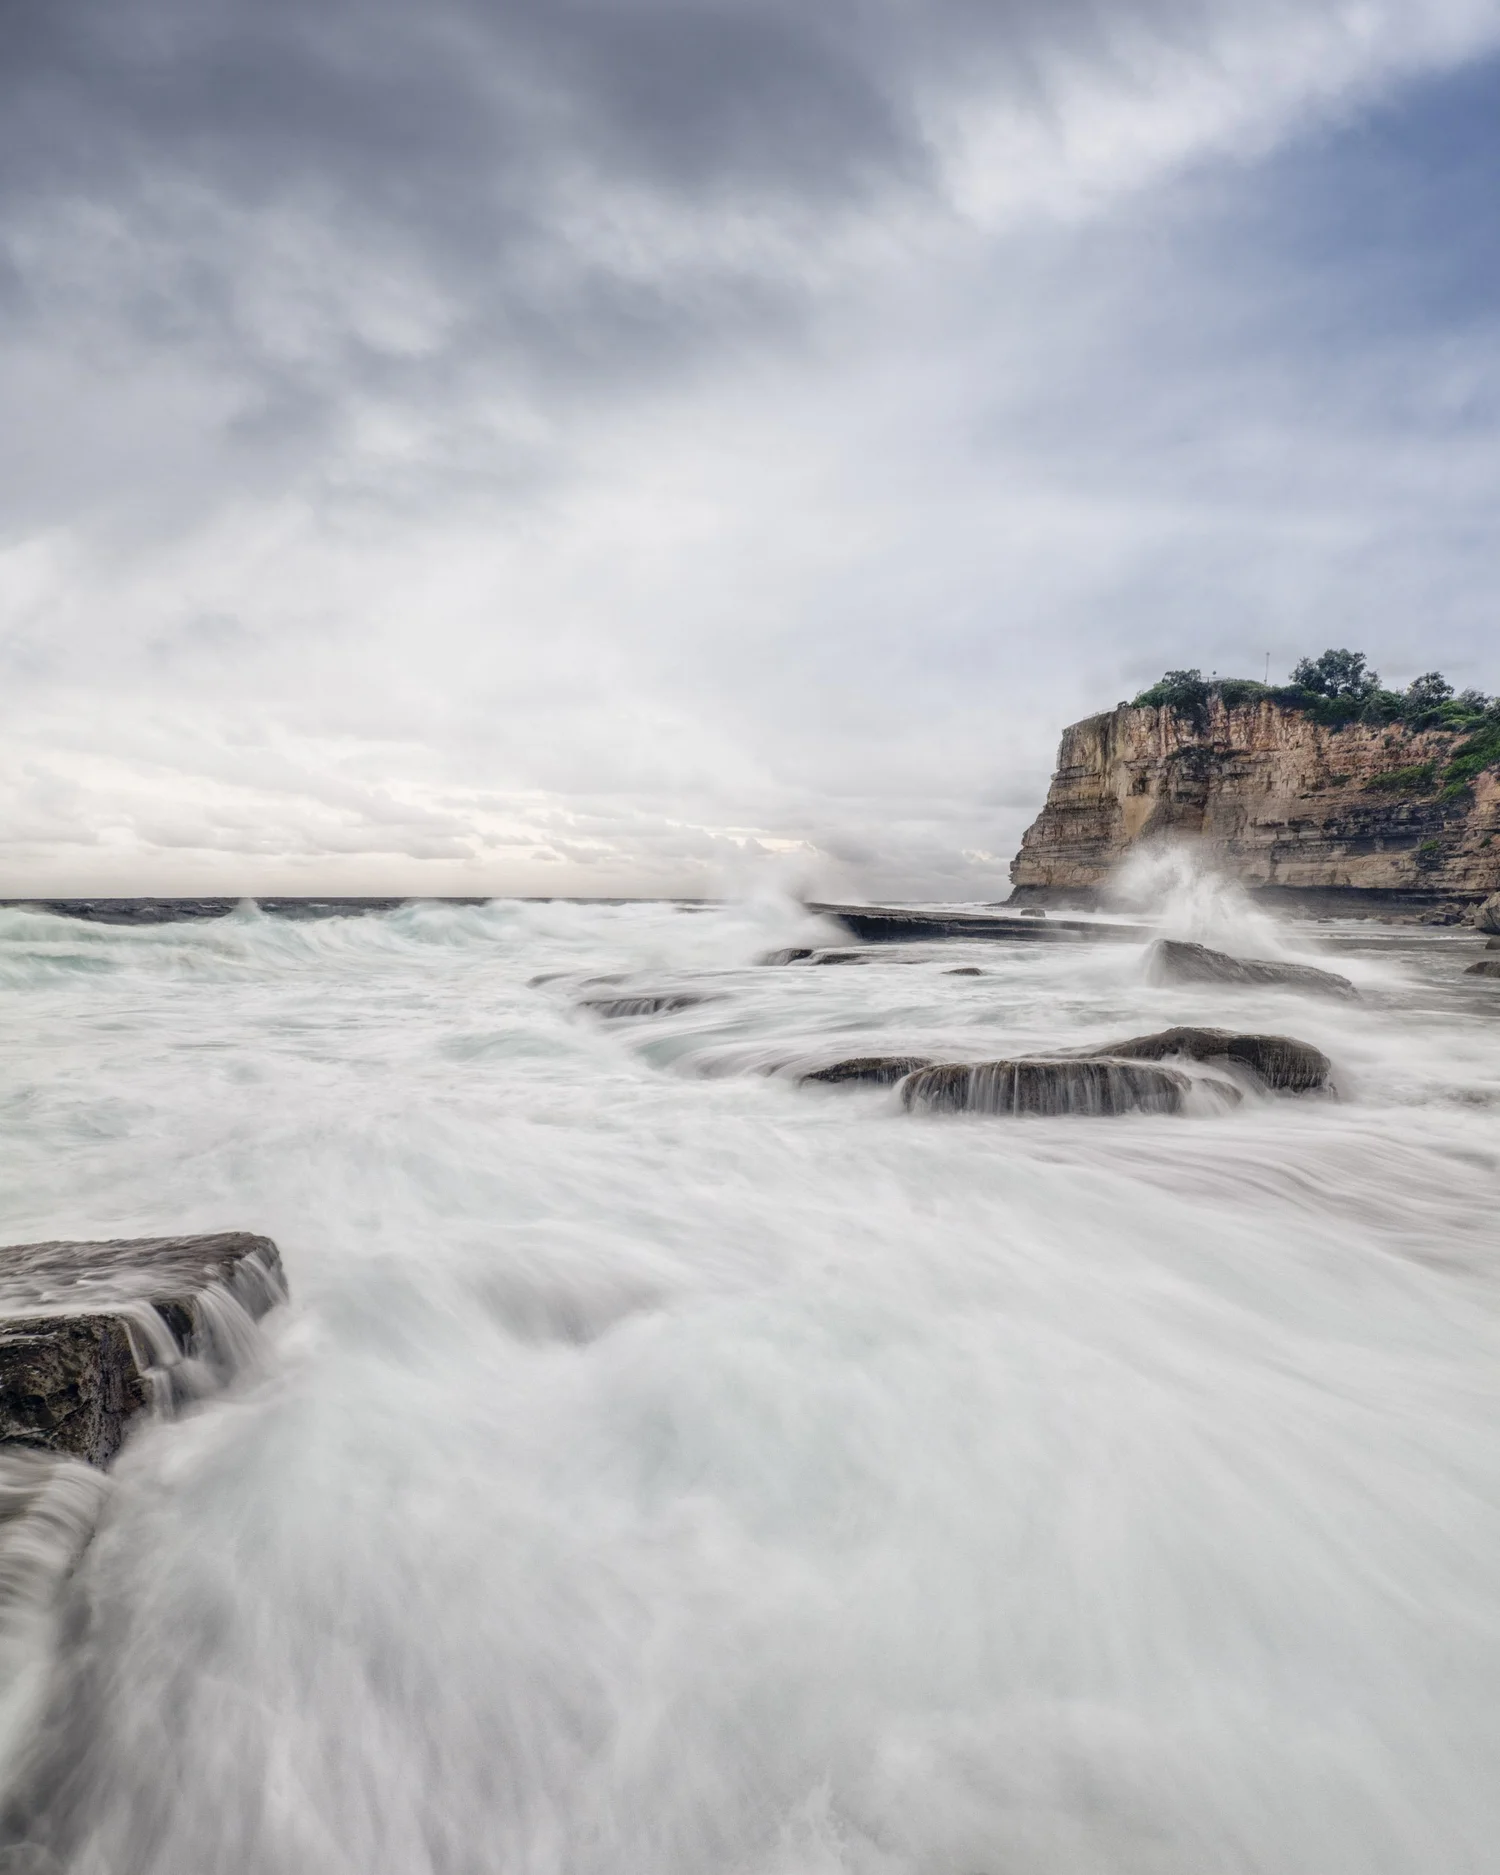
Now take the same camera to Princes Pier at sunset. The old timber piles stand in rows in Port Phillip Bay, and the water around them is choppy and restless. Close the lens down to f/11, set ISO 100, add a dark filter and leave the shutter open for 30 seconds. The chop smooths into something like mist. Again, one decision did most of the work.
Those two photographs sit at opposite ends of the same system. Every exposure you make is a negotiation between three settings: aperture, shutter speed and ISO. Photographers call it the exposure triangle. Once you know what each side does, and what each one costs, you stop guessing.
What is the exposure triangle?
Exposure is how much light reaches the sensor and how strongly the camera responds to it. Too little and the picture is dark and muddy. Too much and the highlights burn out to blank white. Three controls decide the result.
- Aperture is the size of the opening inside the lens.
- Shutter speed is how long the sensor is exposed to light.
- ISO is how much the camera amplifies the signal it records.
The triangle is a useful picture because the three are linked. Change one and, to keep the same brightness, you have to move another in the opposite direction. The currency they trade in is the stop. One stop means double or half the light. Open the aperture by one stop and you can make the shutter speed one stop faster, and the brightness stays exactly the same.
What makes it interesting is that each setting also changes how the picture looks. That is the real lesson. Getting the brightness right is easy. Choosing which side effect you want is photography.
Aperture: how much light, and how much is in focus
Aperture is written as an f-number: f/1.8, f/2.8, f/4, f/5.6, f/8, f/11, f/16. The numbering runs backwards to most people's instinct. A small number means a wide opening and lots of light. A large number means a narrow opening and less light. Each step in that sequence is one full stop.

The side effect is depth of field, the zone of the picture that looks acceptably sharp. Wide apertures give shallow depth of field. That is the crocus: at f/2.8 and a few centimetres from the flower, the sharp zone may be only a few millimetres deep, which is why the back petals are already softening. Narrow apertures give deep depth of field, which is why landscape photographers reach for f/8 to f/11 when they want a foreground rock and a distant headland both sharp.
Distance and focal length matter too. Move closer, or zoom in, and depth of field shrinks further. That is why a close-up at f/8 can still have a soft background.
One caution. Most lenses are sharpest a couple of stops down from wide open, often around f/5.6 to f/8. Beyond about f/16, diffraction softens the whole image slightly. f/22 is not a shortcut to sharper landscapes.
Shutter speed: how long, and what moves
Shutter speed is measured in seconds and fractions of a second: 1/1000, 1/250, 1/60, 1/15, 1 second, 30 seconds. Each halving or doubling is one stop.
The side effect is motion. A fast shutter freezes it. A slow shutter records it as blur. Neither is right or wrong; it depends on what you want the viewer to feel.
- 1/1000 s and faster freezes a bird taking off, a wave breaking, a child mid-jump.
- 1/250 s handles people walking and most everyday scenes.
- 1/60 s is around the slowest many people can hand-hold a standard lens, and moving subjects start to smear.
- 1 to 30 seconds needs a tripod, and turns water to silk, clouds to streaks and headlights to ribbons.
The Princes Pier piles are the textbook case. At 1/250 s the bay looks like the bay: ripples, glints, texture. At 30 seconds the ripples average out and the piles seem to stand in fog. Before the light has fully gone, reaching 30 seconds usually means a neutral density filter, a piece of dark glass that cuts light without changing colour. If that look appeals, it is the heart of our Princes Pier sunset workshop.
ISO: brightness at a cost
ISO controls how much the camera amplifies the light it has already gathered. The scale is simple: 100, 200, 400, 800, 1600, 3200, 6400. Each doubling is one stop brighter.
The side effect is noise, the grainy speckle and smudged fine detail you see in dim photos. Raising ISO does not create light; it turns up the volume on a weaker signal, and the flaws get louder with it. How much noise is acceptable depends heavily on the camera. A recent full-frame body can produce clean files at ISO 3200 or beyond. An older compact may look rough by ISO 800.
The rule is to use the lowest ISO that still lets you get the aperture and shutter speed you need. On a tripod at dusk, that is ISO 100. Hand-holding in the domed reading room at State Library Victoria, you may need ISO 1600 or more to keep the shutter fast enough. A little noise is always better than a blurred photograph.
Getting the brightness right is easy. Choosing which side effect you want is photography.
How aperture, shutter speed and ISO work together
Because each setting is measured in stops, you can swap one for another. Say the camera's meter reads a sunlit street as correctly exposed at f/8, 1/125 s, ISO 100. Every row below gives the same brightness. What changes is the character of the picture.
| Aperture | Shutter speed | ISO | What you get |
|---|---|---|---|
| f/2.8 | 1/1000 s | 100 | Very shallow depth of field, frozen motion |
| f/5.6 | 1/250 s | 100 | Moderate depth, freezes walking pace |
| f/8 | 1/125 s | 100 | The metered starting point |
| f/16 | 1/30 s | 100 | Deep depth of field, risk of shake and motion blur |
| f/16 | 1/60 s | 200 | Deep depth of field, safer shutter, slightly more noise |
Read down the table and you can watch the trade happen. The top row blurs the background and freezes anything moving. Lower down you gain depth, but a cyclist crossing the frame at 1/30 s will smear. The last row buys back a faster shutter at f/16 by spending one stop of ISO.

Which setting should you choose first?
Start with the one that matters most to the picture, then let the others follow.
- If the story is what is sharp and what is not (a portrait, a flower, a landscape), choose the aperture first.
- If the story is movement, frozen or blurred, choose the shutter speed first.
- Set ISO last, as low as the light allows.
You do not need full manual mode to work this way. Aperture priority (A or Av) lets you choose the f-number while the camera sets the shutter speed. Shutter priority (S or Tv) does the reverse. Auto ISO can look after the third side. Plenty of working professionals shoot like this every day. What matters is that you make the decision that shapes the picture, rather than handing it to the camera.
This is the foundation of our beginner photography workshop, where you practise each setting on real subjects until the relationships become instinct.
Practise this
- Find a single flower or leaf with open space behind it. In aperture priority, shoot it at your widest aperture, then f/5.6, f/11 and f/16. Compare the backgrounds side by side.
- Stand beside a road or tram line and photograph passing traffic at 1/1000 s, 1/60 s and 1/8 s. Note the speed at which motion starts to show.
- Indoors in the evening, photograph the same scene at ISO 100, 800, 3200 and 6400. View each at 100 per cent and decide where your camera's noise becomes too much for you.
Questions, answered.
What order should I set aperture, shutter speed and ISO?
What is a good ISO for beginners?
Does a higher f-number make photos sharper?
What does one stop mean in photography?
Published by CapturEDU, Melbourne photography education. Our educators are award-winning photographers with a Master of Arts in Photography (RMIT), AIPP and RPS membership.

