
Architecture photography tips: verticals, light and detail
Buildings stand still, which makes them patient teachers. They also punish sloppy technique. Straight lines, the right light and a good eye for detail are what separate a record shot from a photograph.
Stand on the corner of Flinders and Swanston Streets and point a wide lens up at the station. The screen fills with yellow brick and the green copper dome. The picture looks impressive for about a second. Then you notice the clocks are leaning, the whole building tipping backwards as if it were about to fall into the Yarra, and the tram wires cut a black line through the dome.
Architecture photography is full of moments like that. Buildings do not move, so there is no excuse for rushing, and every small error in technique shows. The good news is that the fixes are simple, and once you know them you will see buildings differently for good.
How to keep vertical lines straight
Buildings lean in photographs because you tilt the camera upwards. When the sensor is not parallel to the facade, parallel vertical lines converge towards the top of the frame. Architects call the problem converging verticals, and it is the single most common fault in beginners' architecture pictures.
There are four ways to deal with it. The first is to keep the camera level. Use the electronic level in your viewfinder or on screen, frame with the building in the upper part of the picture, and crop away the extra foreground later. The second is to step back and use a longer focal length, so you do not need to tilt as much. The third is to shoot from higher up: a first-floor window, a footbridge or the top of some steps opposite puts you closer to the building's mid-height. The fourth is a tilt-shift lens, which moves the optics upwards while the camera stays level. It is the professional's tool, and expensive.
For everyone else, perspective correction in editing software does most of the job. In Lightroom, the Transform panel's Upright options, including Vertical and Guided, straighten verticals in a click or two. The correction stretches and crops the image, so shoot wider than you need and leave room around the building. Correcting a strong tilt can make the top of a building look unnaturally tall, and pulling the verticals slightly short of perfectly parallel often looks more natural.
There is one exception. If you want drama, tilt hard and commit. A skyscraper shot straight up from its base, lines rushing to a point, reads as intentional. A building leaning back by five degrees just reads as a mistake.

The best light for photographing buildings
A building is lit by the sun from one direction at a time, and that direction decides whether its surface looks flat or sculpted. Front light, with the sun behind you, shows colour but flattens texture. Side light, raking across a facade, pulls out every column, window reveal and line of mortar. Back light turns the building into a silhouette against a bright sky.
In the southern hemisphere, the sun travels across the northern sky. A north-facing facade gets sun for most of the day. East faces are lit in the morning, west faces in the afternoon, and a south-facing facade gets direct sun only early and late in the day around summer. A sun-position app will show you exactly when the light will hit a building, and from which angle, before you leave home.
Overcast days are underrated. Soft, even light suits glass towers, which otherwise bounce hard reflections back at you, and it removes the deep shadows that make interiors difficult.
Then there is blue hour, the period after sunset when the sky turns deep blue. For roughly 20 to 40 minutes, depending on the season, the sky's brightness is close to that of a building's interior and feature lighting. Photograph a lit building then and you hold detail in the sky, the walls and the windows in a single frame.
A building leaning back by five degrees just reads as a mistake.
Architecture photography settings
Architecture rewards a tripod and a slow, deliberate approach. Use a low ISO, 100 or 200, and an aperture around f/8 to f/11, where most lenses are sharpest and depth of field covers the whole facade. Avoid going much beyond f/16, where diffraction starts to soften detail. Use a two-second timer or remote release.
Interiors are often darker than they look, with bright windows and dim corners. Bracket three to five exposures two stops apart and blend them later, or shoot raw and recover carefully. Mixed lighting is common, with daylight from windows and warm artificial light inside, so choose the white balance for the part of the scene that matters most.
Photographing architectural details
Whole-building pictures are only half the job. The details often say more: the join between old sandstone and new glass, a stair handrail, a pattern of windows, the carved lettering above a doorway. Switch to a 70–200mm lens and look for repetition, texture and the places where materials meet.
Longer lenses also compress facades. From across a wide street or a park, a telephoto flattens layers of buildings into a pattern of windows and edges. Cropping hard removes the sky and turns architecture into graphic design.
People are a choice, not a nuisance. A single figure crossing a forecourt gives scale and life. If you want the space empty, arrive early on a weekend, or use a long exposure with an ND filter so that moving people blur and disappear.

Melbourne buildings to practise on
Melbourne mixes Victorian boom-era buildings with bold contemporary design, often on the same block, which makes it an excellent practice ground.
| Building | What to practise |
|---|---|
| Flinders Street Station | Verticals, and blue hour when the facade is lit |
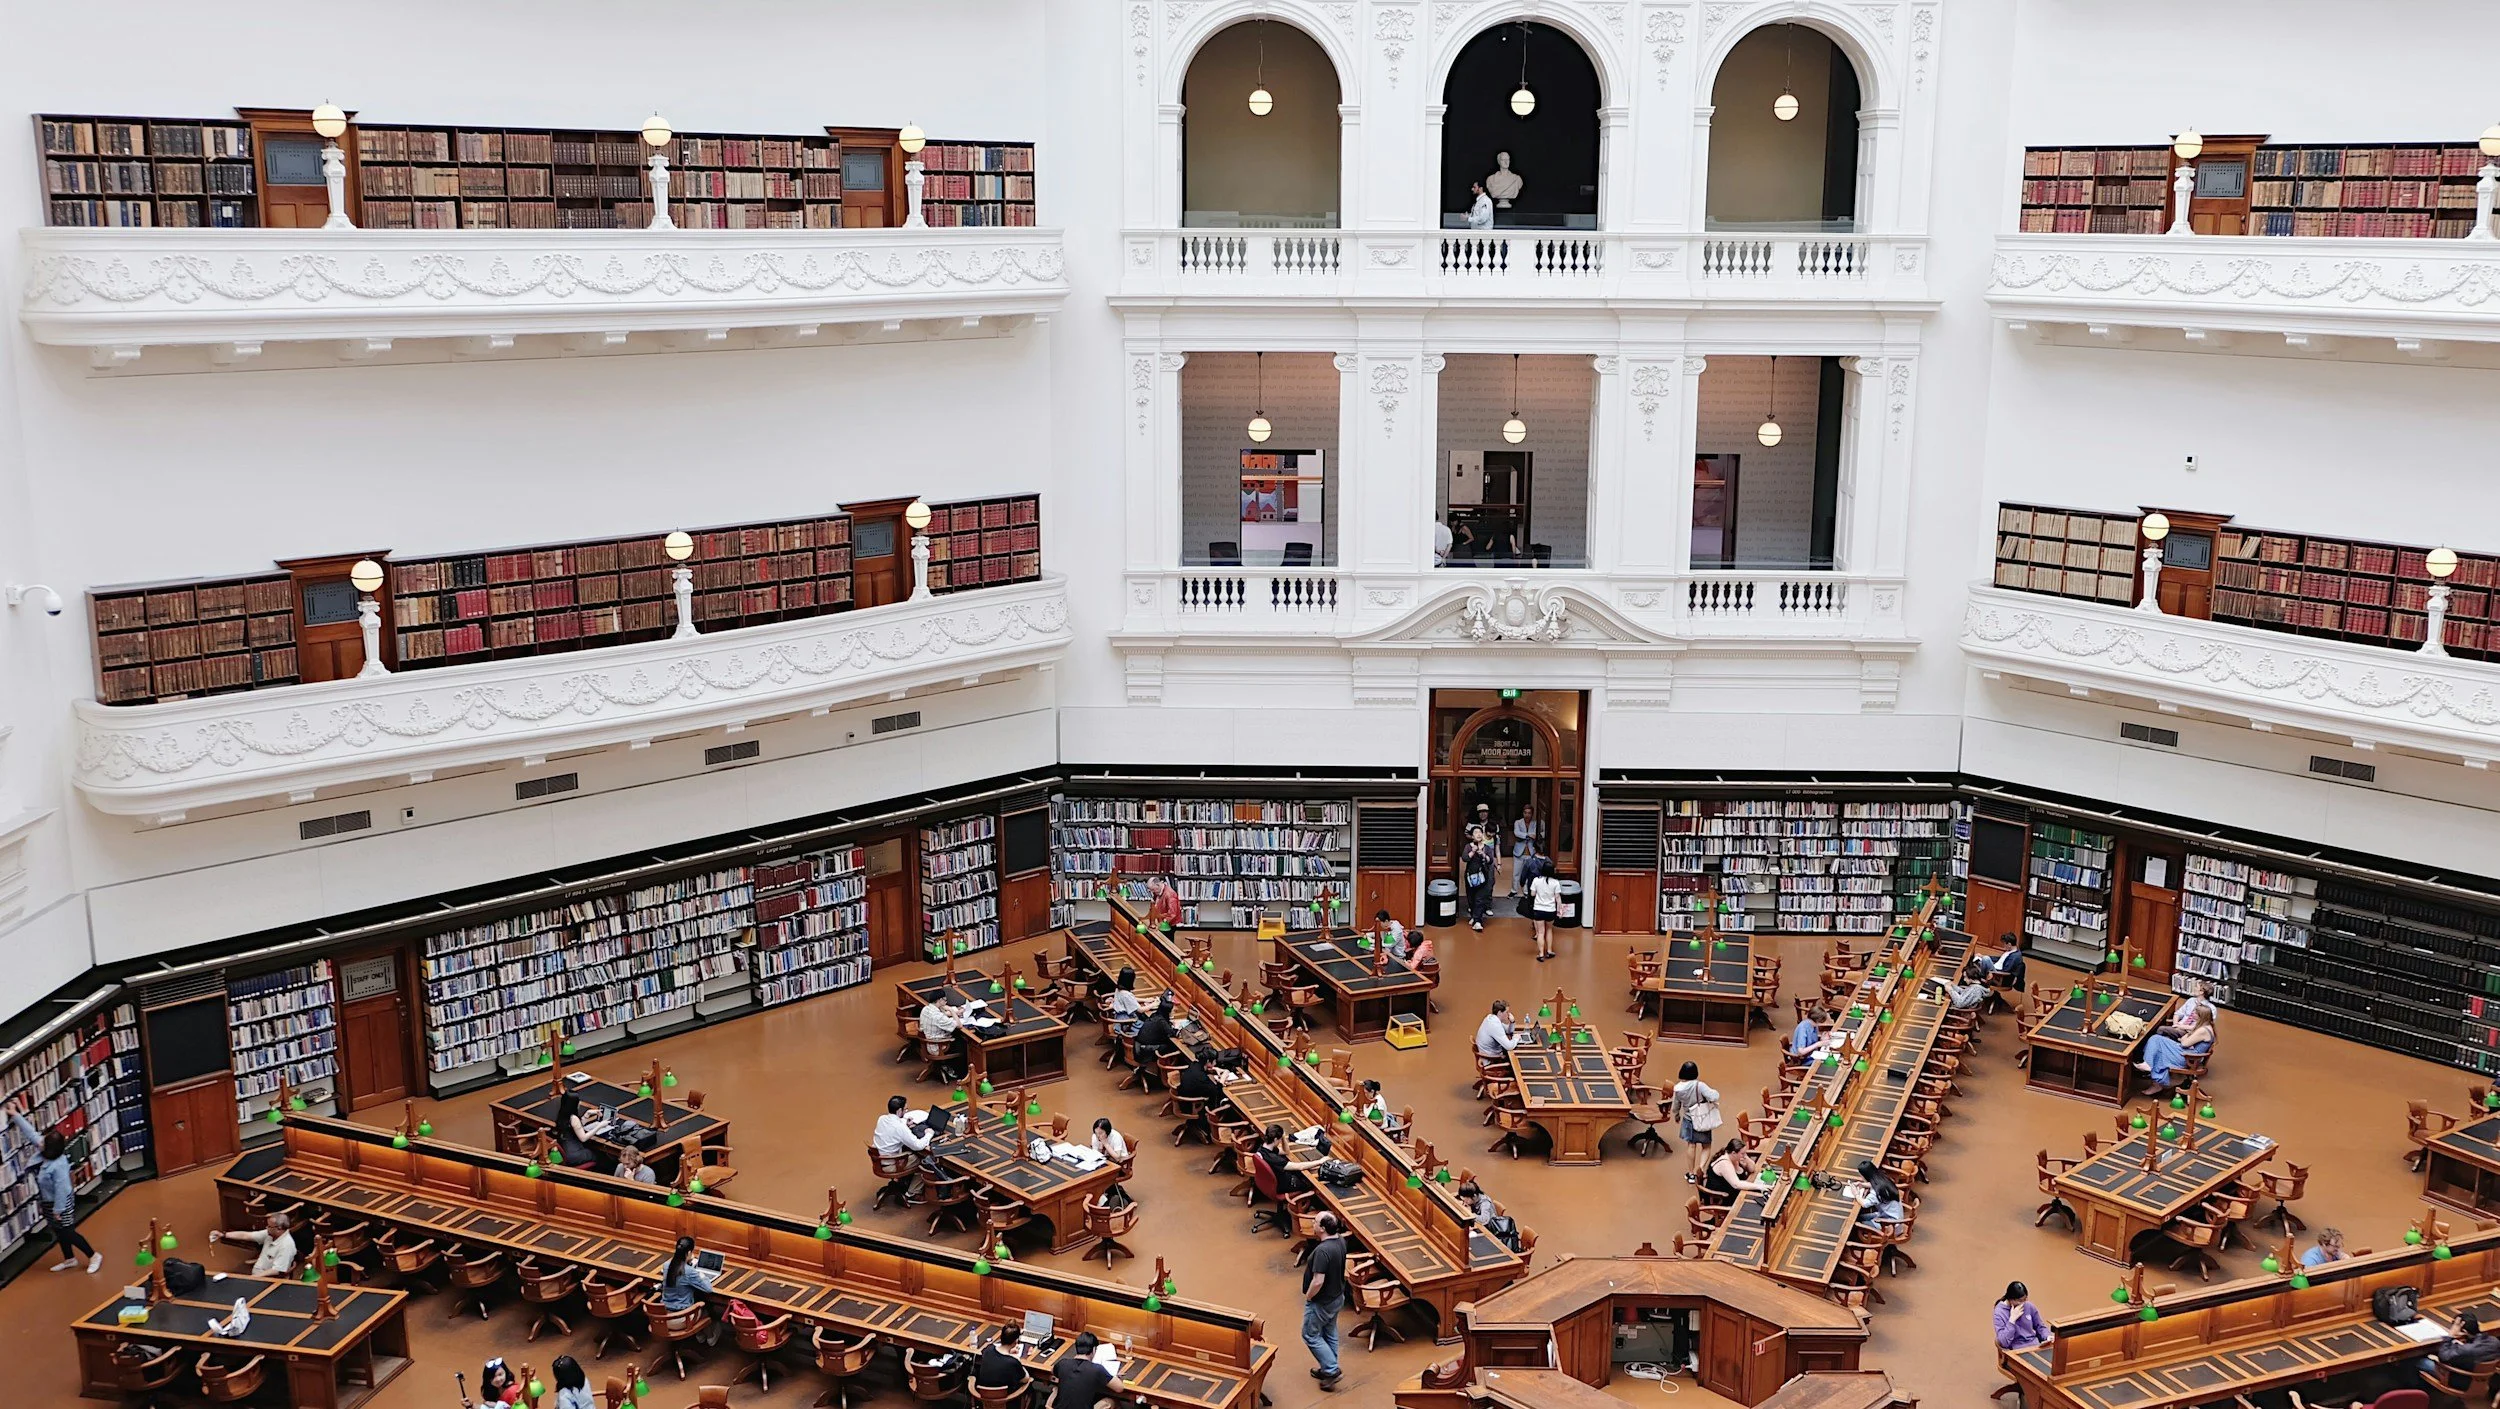
| State Library Victoria | Symmetry and interiors in the domed La Trobe Reading Room |
| Royal Exhibition Building | Symmetry and the whole-building view across Carlton Gardens |
| Federation Square | Angular geometry, cladding patterns and abstract details |
| The Block Arcade | Mosaic floors, ironwork and low-light interiors |
| Southern Cross Station | The undulating roof and repeating structure |
| Docklands | Glass, reflections and modern lines at blue hour |
Many of these are working public buildings or private property. Tripods, flash and commercial photography are often restricted inside, so check each building's photography policy, respect worshippers, readers and shoppers, and ask staff when in doubt. The beginner photography workshop is held at State Library Victoria, which makes it a good place to learn camera control among some of the city's best interiors. Our guide to Melbourne photography locations has more.
For the city at its most photogenic, the Docklands blue hour workshop covers exposure as the lights come on. If perspective correction and bracket blending are what hold you back, a private Lightroom lesson covers both on your own files.
Practise this
- Photograph one building three ways: camera tilted up, camera level and cropped, and corrected in editing. Compare which looks most natural.
- Use a sun-position app to find when side light will rake across a facade you know, then photograph it at that time and at midday.
- Make a set of six detail frames from one building at 70mm or longer, with no sky in any of them.
Questions, answered.
What lens is best for architecture photography?
Why do buildings lean backwards in my photos?
What is the best time of day to photograph buildings?
Can I use a tripod inside public buildings?
Published by CapturEDU, Melbourne photography education. Our educators are award-winning photographers with a Master of Arts in Photography (RMIT), AIPP and RPS membership.

