
Abstract photography ideas: seven exercises in seeing
Abstract photography is not a style so much as a way of looking. These seven exercises strip away the subject so you can see shape, colour, line and light on their own terms.
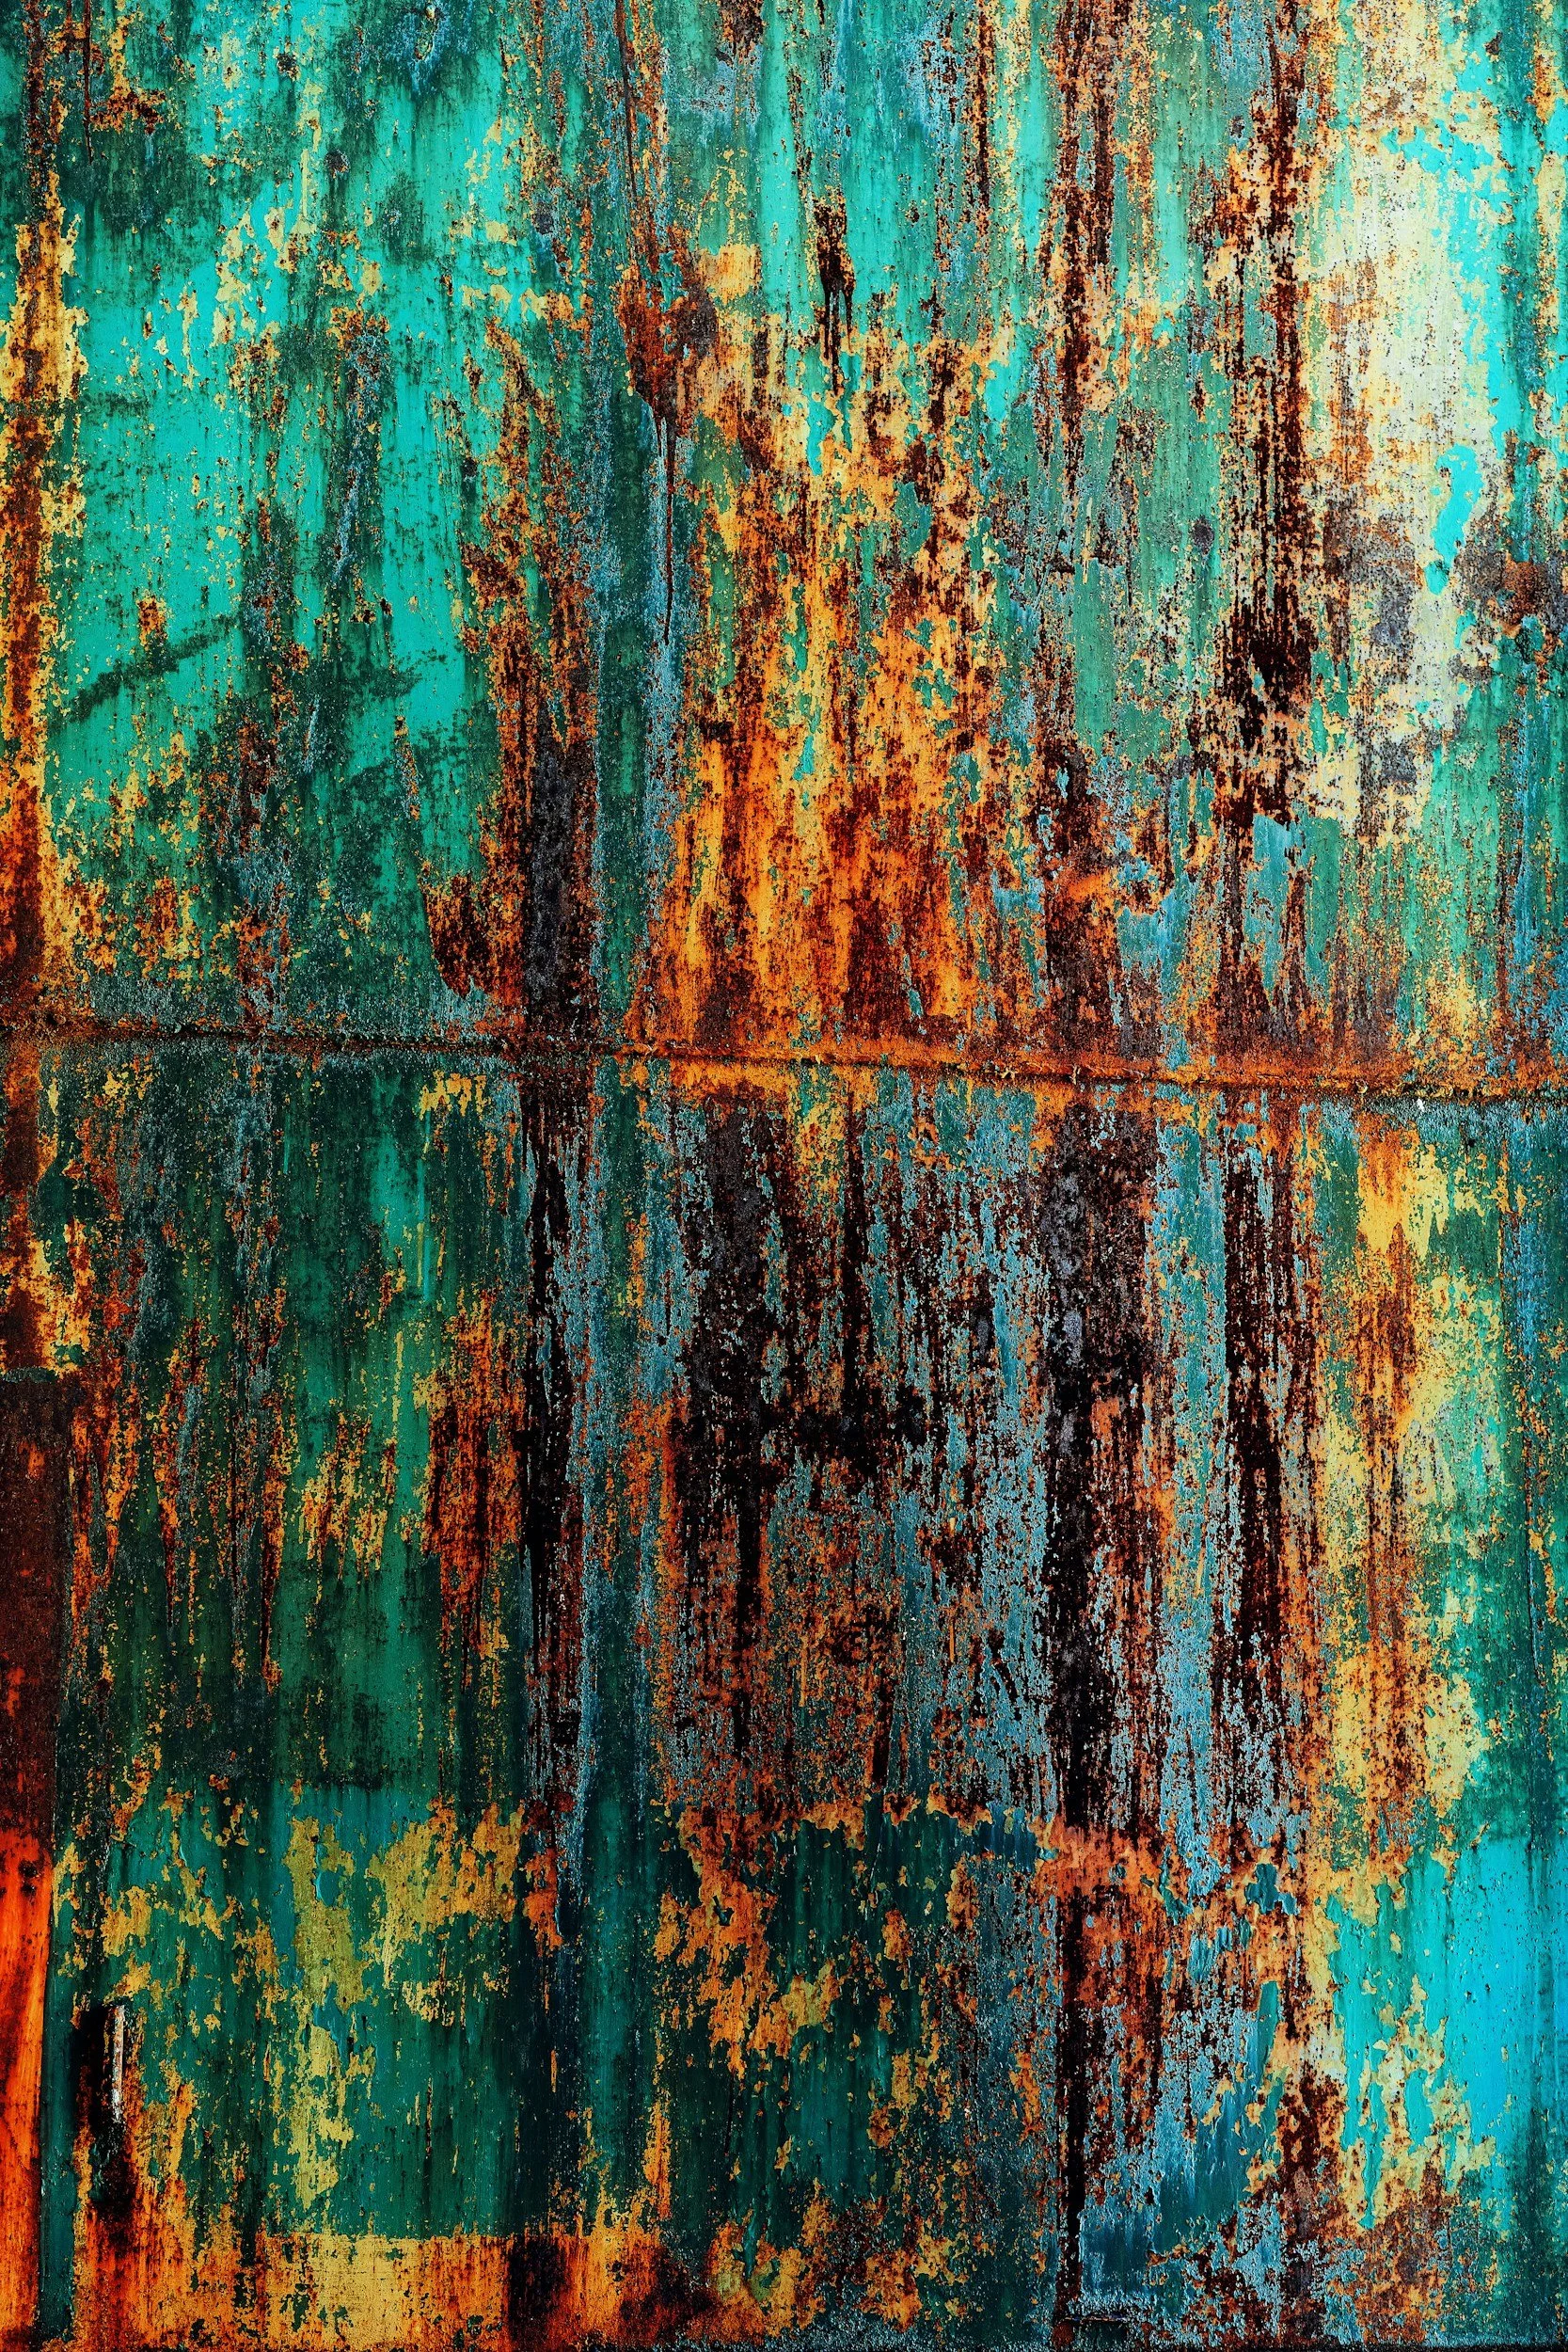
A wall in a Melbourne laneway, late afternoon. Most people walk past it without looking. Up close it is something else: a sheet of flaking blue paint lifting away from orange rust, a crack running diagonally through both, the low sun raking across so every blister of paint throws a tiny shadow. Fill the frame with it and nobody will know it is a wall. They will see colour, texture and a line that cuts the picture in two.
That is the starting point of abstract photography. You stop photographing things and start photographing what things look like. It is also one of the fastest ways to improve every other kind of photography you do, because it forces you to see composition without the distraction of a subject.
What is abstract photography?
An abstract photograph is one where shape, colour, texture, line, tone and light carry the picture. The subject can be recognisable or completely lost. What matters is that the frame works as an arrangement, the way a painting by a colour-field artist works, rather than as a record of a place or object.
Three habits make abstract photographs happen. Get closer than feels normal. Remove context, so the edges of the frame cut out anything that explains the scene. And look for one dominant element, a colour, a line or a texture, then let everything else support it. The exercises below each isolate one of those elements.

Seven abstract photography exercises
1. Texture
Find a surface with character: rusted steel, peeling paint, weathered timber, tree bark, bluestone. Shoot it square-on so the whole frame is in the same plane of focus, and fill the frame completely. The light matters more than the surface. Side light, from the sun low in the sky or a window to one side, exaggerates every ridge and crack. Flat midday light makes the same wall look like a photocopy.
2. Reflections
Glass towers, puddles, car bonnets, still water in a harbour. The reflection distorts whatever it shows, and that distortion is the picture. After rain, look down rather than up: a puddle on the Docklands promenade can hold a whole tower block bent into curves. Focus on the reflected image, not the surface, and remember that a flat reflection sits at the distance to the surface plus the distance from the surface to the object, not at the glass.
3. Intentional camera movement
Intentional camera movement, or ICM, means moving the camera during a slow exposure so the scene paints itself across the frame. A vertical sweep through a stand of gum trees turns trunks into streaks of grey and cream. A horizontal pan along the horizon at the beach flattens sea and sky into bands of colour.
Start at about 1/4 to 1 second, ISO 100 and f/11 to f/16. In bright daylight you will often need an ND filter to get the shutter slow enough. Move smoothly and start moving before you press the shutter. Expect to shoot fifty frames to keep three. That ratio is normal, and part of the method.
4. Macro
Get close enough and almost anything becomes abstract: the veins in a leaf, the grain of a feather, bubbles in a glass of soda water. A macro lens is ideal, but extension tubes, close-up filters or a phone's macro mode will get you started. Depth of field becomes very shallow at close range, so decide exactly which plane you want sharp and let the rest dissolve.
5. Shadows
On a clear morning, shadows are long and hard-edged. A balustrade throws stripes across a footpath. A palm frond draws itself on a rendered wall. Photograph the shadow, not the object making it, and expose for the bright surface so the shadows go deep. Early morning and the last two hours before sunset give the longest, most graphic shadows.
6. Colour fields
Find two or three blocks of flat colour and compose with nothing else. A painted door against a painted wall, shipping containers, a blue sky above a yellow awning. The fewer colours, the stronger the frame. Hosier Lane and the laneways around it are full of colour, but the challenge there is exclusion: isolate one corner of a mural so it reads as colour and shape rather than as street art.
7. Minimal architecture
Point a longer lens, 70 to 200mm, at a building and crop to a single repeating element: a row of windows, the edge where two facades meet, a curve of concrete against sky. The angular cladding of Federation Square and the glass of Docklands reward this. Blue sky makes a clean background; an overcast sky makes a white one. Both work.
You stop photographing things and start photographing what things look like.
Camera settings for abstract photography
There is no single abstract setting, but a few defaults help. For flat surfaces shot square-on, f/8 gives enough depth of field and your lens will be near its sharpest. For macro, work at f/8 to f/11 and accept that only a sliver will be sharp. For ICM, the shutter speed is the creative control, so set it first and let the other settings follow.
Shoot raw if you can. Abstract images often live or die on subtle colour and contrast, and raw files give you room to push both. Turn off any in-camera vignetting correction if you want an even field of colour, or leave it on if your lens darkens the corners noticeably.
How to judge an abstract photograph
Abstract work is harder to edit than it looks, because there is no subject to tell you whether a frame succeeded. Two tests help.
First, look at the picture small and upside down. At thumbnail size, turned over, you cannot read what it is. You only see where the weight sits, whether the lines lead somewhere and whether the colours balance. If it still holds your attention, the composition is working.
Second, ask what the frame is about in one word: texture, line, red, rhythm. If you cannot name it, the picture is probably trying to do too much. Crop until you can.

Where to practise abstract photography in Melbourne
The central city laneways are the obvious start: Hosier Lane, AC/DC Lane and the bluestone lanes off Flinders Lane have colour, texture and hard afternoon shadows within a few hundred metres. Docklands has glass, water and clean modern lines, especially around the harbour. For natural textures, the bark of the river red gums along the Yarra and the rock at Werribee Gorge are within easy reach. Our guide to Melbourne photography locations lists more.
If ICM appeals, water is one of its best subjects, and the long exposure seascape workshop covers ND filters and slow shutter speeds on the coast. For street-level colour and shadow, the street photography workshop works the same laneways with a different eye.

Practise this
- Spend one hour on a single city block and make thirty frames in which nobody could tell where you were. Keep the best five.
- Choose one colour for a whole walk. Photograph only things where that colour dominates the frame.
- Try ICM on a row of trees at 1/4, 1/2 and 1 second, moving vertically, then horizontally. Compare which speed and direction feels deliberate rather than accidental.
Questions, answered.
What is abstract photography?
What settings do I need for intentional camera movement?
Can you take abstract photos with a phone?
How do you know if an abstract photo is good?
Published by CapturEDU, Melbourne photography education. Our educators are award-winning photographers with a Master of Arts in Photography (RMIT), AIPP and RPS membership.

