
Macro flower photography: light, focus and clean backgrounds
At close range, a millimetre decides everything: what is sharp, what is soft, and whether the background is a wash of colour or a mess of stems. Here is how to control it.
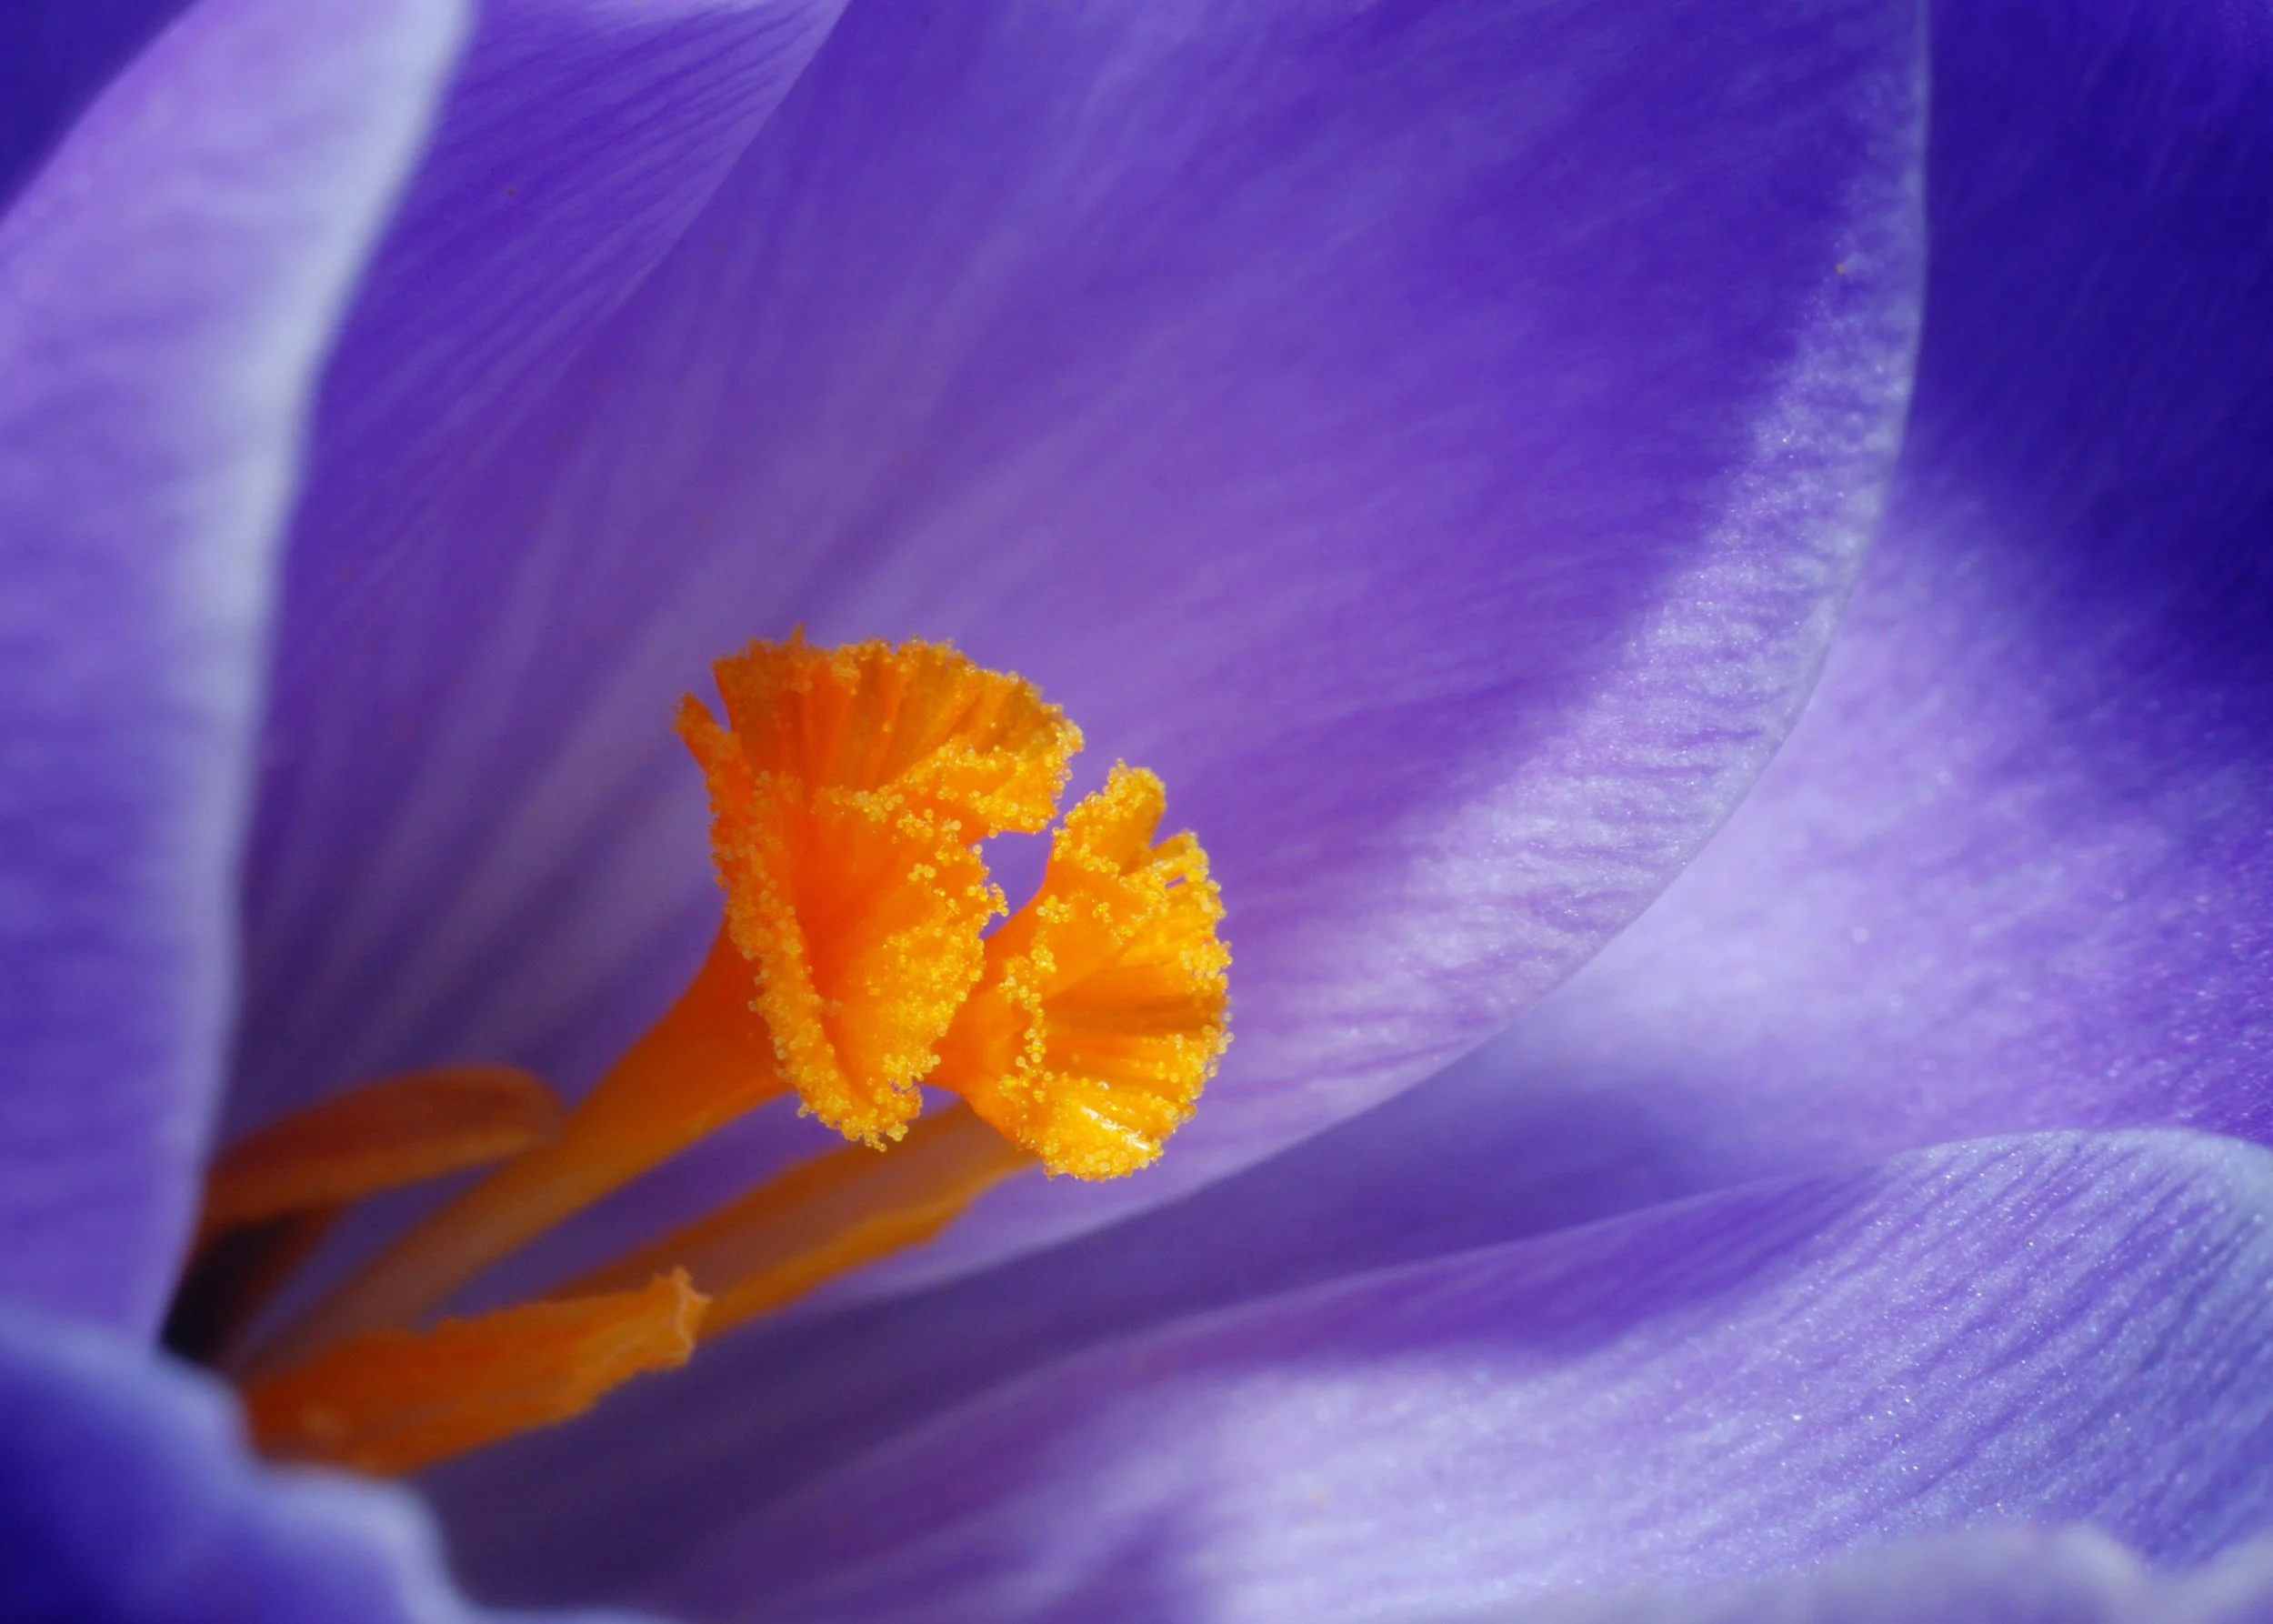
Early on a still spring morning in the Dandenong Ranges, a single rhododendron bloom hangs at eye level, beaded with water from overnight mist. From a metre away it is a pink flower. From ten centimetres it is a landscape: ridges of petal, a ring of long stamens, droplets holding tiny, inverted images of the forest behind. Then a breath of wind moves the branch two millimetres and the whole picture goes soft.
That is macro flower photography in miniature. The subject is beautiful and patient, but the margins are tiny. Everything that is forgiving at normal distances, focus, depth of field, camera shake, background, becomes exacting when you get close.
What gear do you need for macro flower photography?
A dedicated macro lens is the ideal. Most reach 1:1 magnification, which means a subject 2cm wide covers 2cm of the sensor. Lenses around 90–105mm are the most popular for flowers because they let you work from a comfortable distance without casting your own shadow. Shorter 50–60mm macro lenses are cheaper and lighter, but you have to get much closer.
You do not need one to start. Extension tubes are hollow spacers that fit between camera and lens, letting any lens focus closer; there is no glass in them, so they cost little image quality, though you lose focus at distance while they are fitted. Close-up filters, sometimes called diopters, screw onto the front of a lens like a magnifying glass. Many phones now have a macro mode, and it is excellent for a first look.
A tripod that can go low helps enormously, as does a remote release. Flowers grow near the ground and at close range the smallest shake shows.

The best light for flower photography
Petals are delicate and reflective, and hard sunlight makes them look harsh, with burnt-out highlights and black shadows. Bright overcast light and open shade are the most forgiving conditions. The light is soft and even, colours saturate, and fine detail in petals shows without glare.
Back light is the dramatic option. With the sun low behind a translucent flower, such as a poppy, tulip or iris, the petals glow and their veins show like stained glass. Expose for the petal, not the bright sky behind it, and use a lens hood or your hand to shade the front of the lens from flare.
If you must shoot in midday sun, soften it. A small fold-out diffuser held between the sun and the flower turns hard light into soft light. A white card or a reflector opposite it lifts the shadows. Both cost little and fit in a camera bag.
Depth of field in macro photography
Depth of field shrinks dramatically as you get closer. At the same aperture, a portrait might have half a metre in focus. A flower at 1:1 has barely a millimetre. The figures below are approximate, for a full-frame camera, and they show why aperture alone will not save you.
| Aperture | At 1:1 (life size) | At 1:2 (half life size) |
|---|---|---|
| f/2.8 | About 0.3mm | About 1mm |
| f/5.6 | About 0.7mm | About 2mm |
| f/8 | About 1mm | About 3mm |
| f/16 | About 2mm | About 6mm |
Stopping down helps, but only so far. Beyond around f/11 to f/16, diffraction begins to soften fine detail, and at high magnification the effective aperture is smaller than the number set on the lens, which makes it worse. Most whole-flower images sit somewhere between 1:4 and 1:2, where f/5.6 to f/8 is a good starting point.
Choose where the sharp plane falls, then let everything else go soft.
The better strategy is to choose where the sharp plane falls. Pick the one thing the eye goes to first, the tips of the stamens, the edge of the front petal, a droplet, and put the focus exactly there. Then align the camera so the most important part of the flower lies parallel to the sensor. A daisy shot straight on can be sharp across its whole face at f/5.6; the same daisy shot at an angle cannot be at f/16.
How to focus for macro shots
Switch to manual focus. Autofocus hunts at close range and often picks the wrong petal. Set roughly the magnification you want with the focus ring, then move the whole camera slowly forwards and backwards until the point you want snaps sharp. On a tripod, a focusing rail does the same job more precisely. Magnified live view and focus peaking, if your camera has them, show exactly where sharpness falls.
Wind is the constant enemy. Mornings are often calmest. Use your body or a piece of card as a windbreak, and keep the shutter speed at 1/250 sec or faster when hand-holding. In low light, raise the ISO before letting the shutter speed drop.
How to get clean backgrounds
A flower photograph is often ruined not by the flower but by what sits behind it: a bright stem, a white label, a patch of sky. The background is part of the composition, so choose it as carefully as the subject.
Distance is the first control. The further the background is from the flower, the softer it becomes. Move a few centimetres left or right, or lower, and the background can change from clutter to a smooth wash of green foliage or deep shade. Place the flower in light and the background in shadow, and the flower glows against near-black.
If nothing works, bring your own. A piece of black, grey or coloured card held a hand's width behind the flower gives a clean, even background. Tidy any dead leaves or grass stems from the frame gently, and never pick, cut or damage plants in a public garden.

Focus stacking for flowers
When you want a flower sharp from front to back and a soft background at the same time, one frame cannot do it. Focus stacking can. Take a series of frames, moving the focus a small step between each, from the nearest petal to the furthest, then blend them in software that keeps only the sharpest parts of each frame.
It needs a tripod, manual exposure and white balance so every frame matches, and a subject that does not move. Five frames may be enough for a small bloom; thirty or more is common at high magnification. Many recent cameras offer focus bracketing, which automates the steps, and some merge the stack in camera. Photoshop, Helicon Focus and Zerene Stacker are common tools for blending. Wind between frames shows up as ghosting, so stacking works best on still mornings or indoors with a cut flower.
Where to photograph flowers in Melbourne
The Royal Botanic Gardens in the city are free to enter and have something flowering in every season. The conservatory in the Fitzroy Gardens changes its floral display through the year. In spring, the National Rhododendron Garden in Olinda and the tulip fields at Silvan in the Dandenong Ranges are at their best, and Royal Botanic Gardens Cranbourne specialises in Australian native plants. Opening hours, fees and rules on tripods vary, so check each one before you go and stay on the paths. Our guide to Melbourne photography locations has more places to practise.
A private lesson can cover macro focusing and stacking on your own camera. For a longer session in the gardens or the hills, a full-day private workshop leaves time to wait for the light and the wind.
Practise this
- Photograph one flower at f/2.8, f/8 and f/16 from the same position. Compare how much is sharp and how the background changes.
- Find a flower in shade with foliage well behind it. Make ten frames moving only a few centimetres each time, and choose the cleanest background.
- On a still morning, shoot a ten-frame focus stack of a single bloom on a tripod and blend it.
Questions, answered.
Do I need a macro lens to photograph flowers?
What aperture should I use for macro flower photography?
What is focus stacking?
What is the best light for flower photography?
Published by CapturEDU, Melbourne photography education. Our educators are award-winning photographers with a Master of Arts in Photography (RMIT), AIPP and RPS membership.

